

Data Import and Basic Cleaning With Google Sheets : Entry Level Task
The steps to import and clean data using google sheets


Hello Hashnoders! Today we would be looking at how to import and clean data using google sheets. The test data we would use is gotten from Entry Level - A site that helps provide Data Analysts with real-world experience and assistance in building a portfolio.
ACCOUNT CREATION
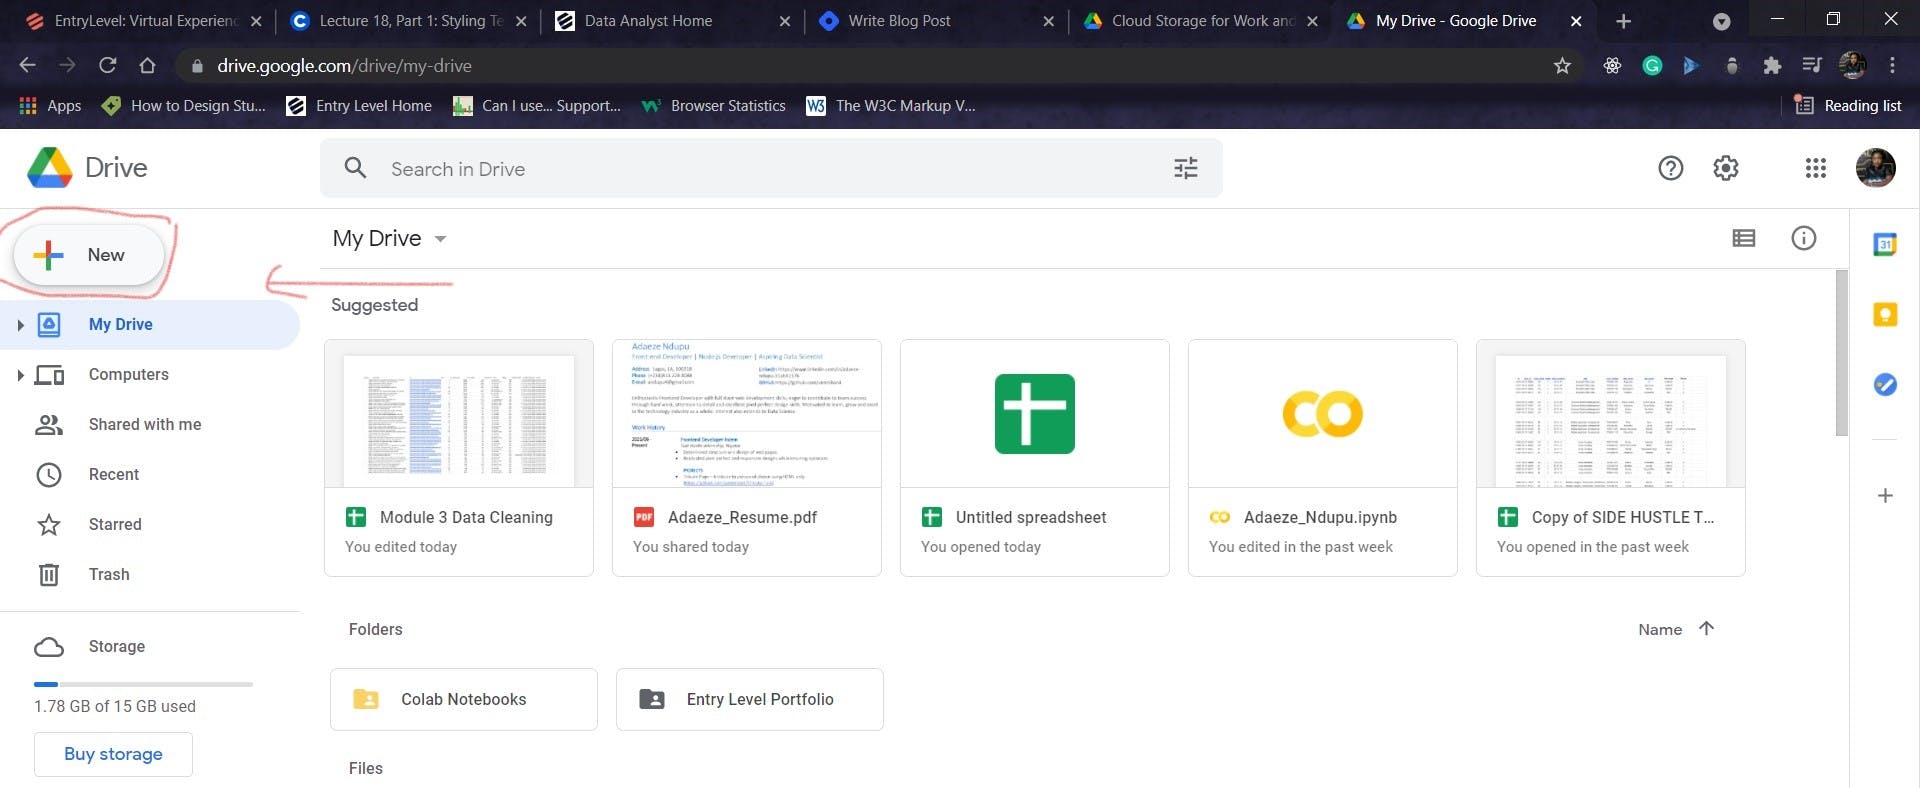
The first thing you want to do is create an account with Google drive

Visit the link to create an account
Click "Go to Drive"
Fill in necessary details and voila account creation successful
Skip all steps and simply login to google drive if you already have an account.
CREATE GOOGLE SHEET
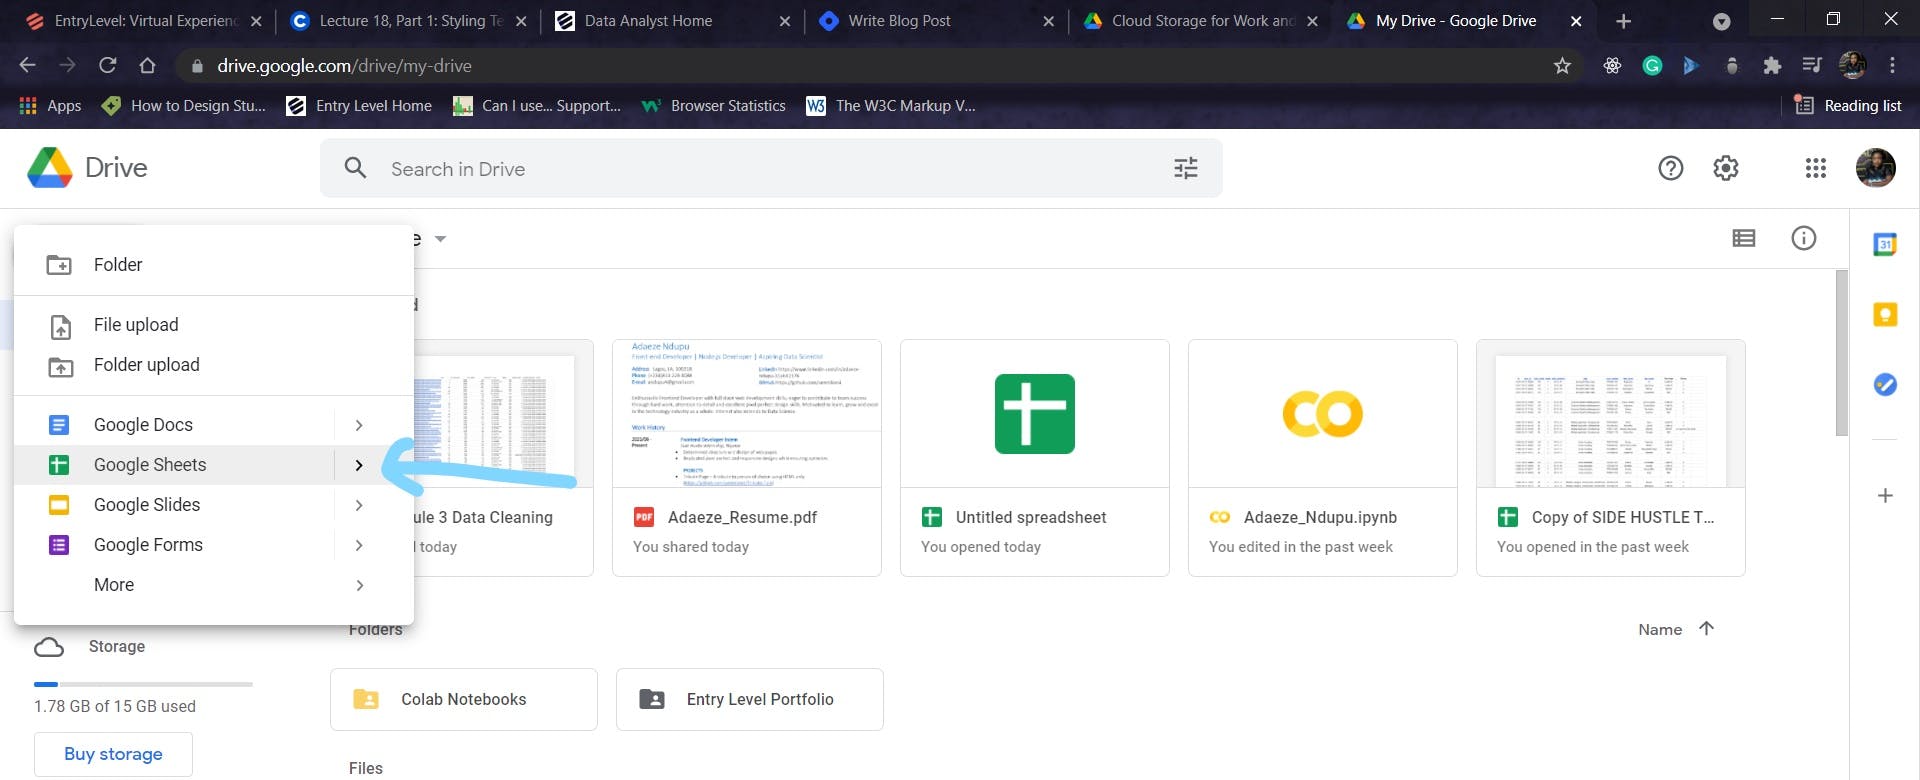
After successfully entering the google drive home page, click on New
Then, Go down and select Google Sheets
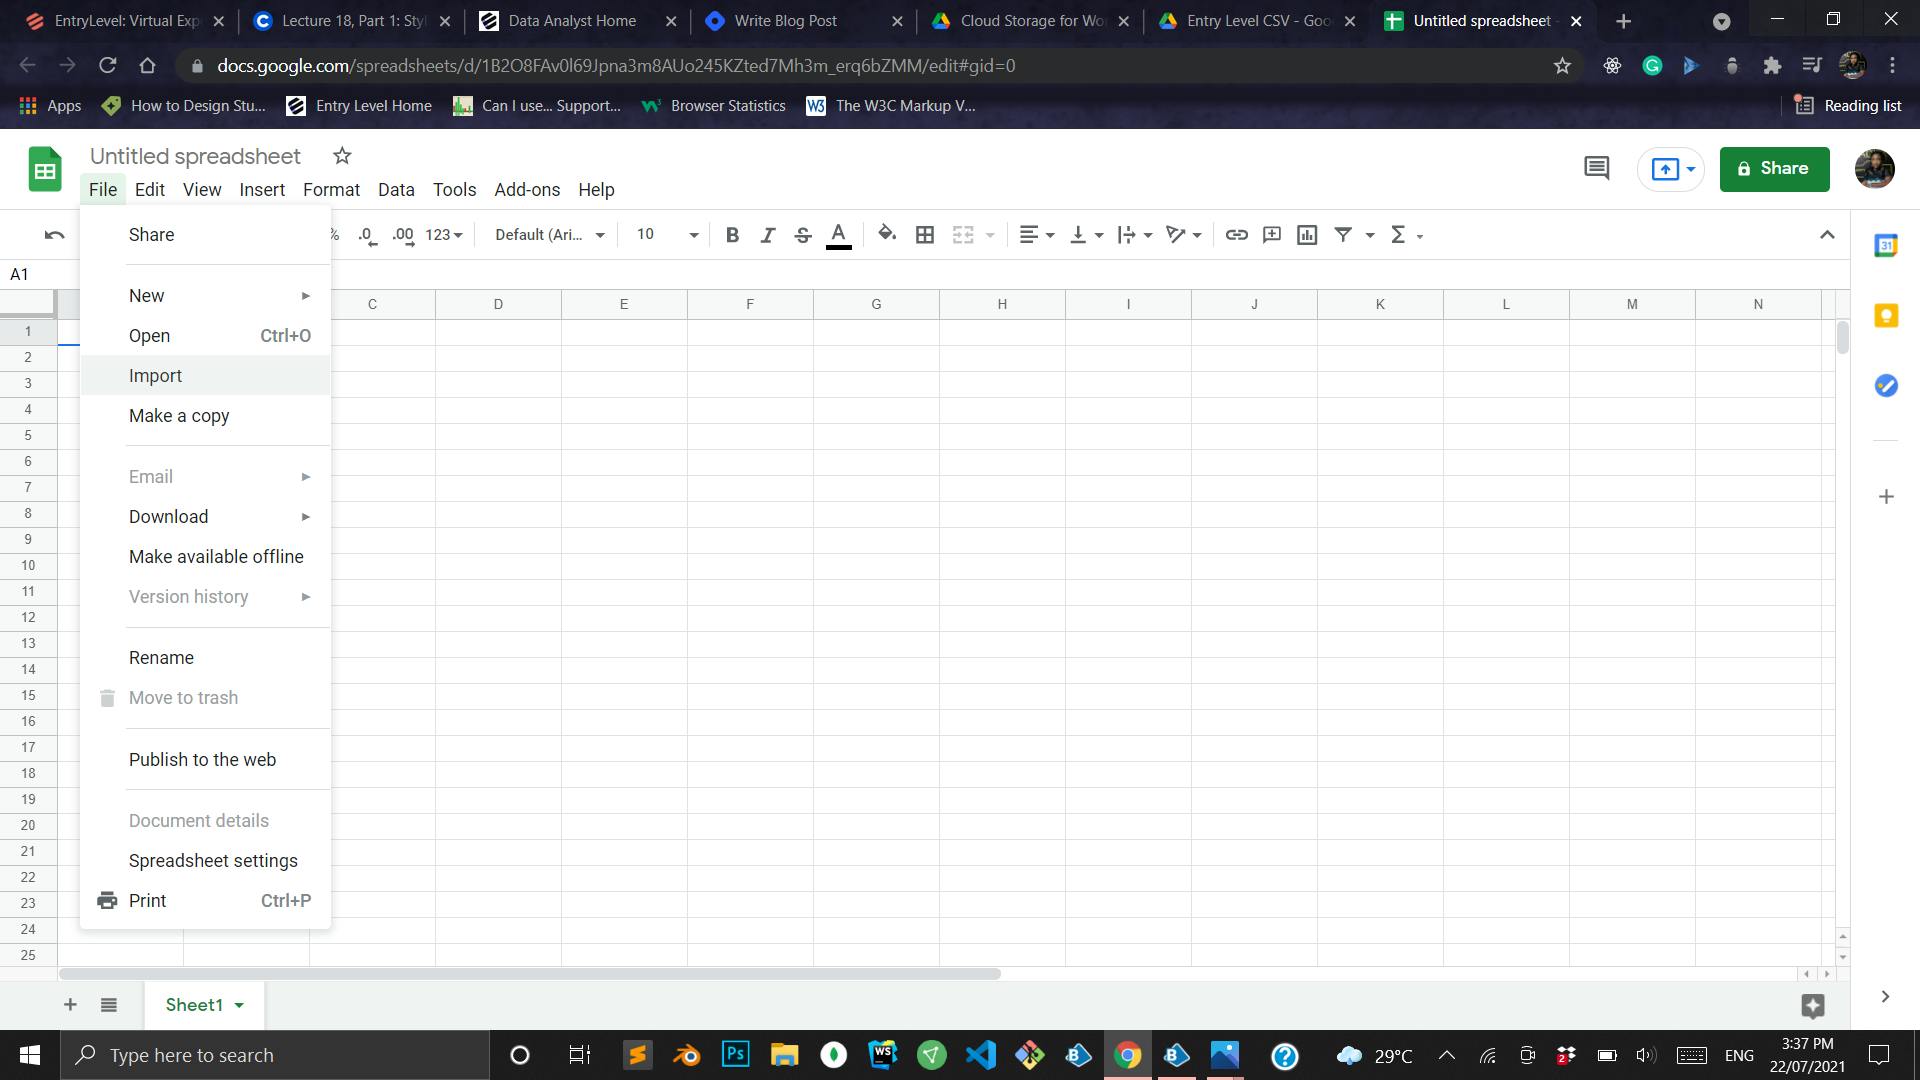
You should have an untitled spreadsheet open before you, Now it's time to import our CSV files.
LINK TO CSV FILES
You can download the files to your local system or add them to your drive.
IMPORT FILES TO SPREADSHEET
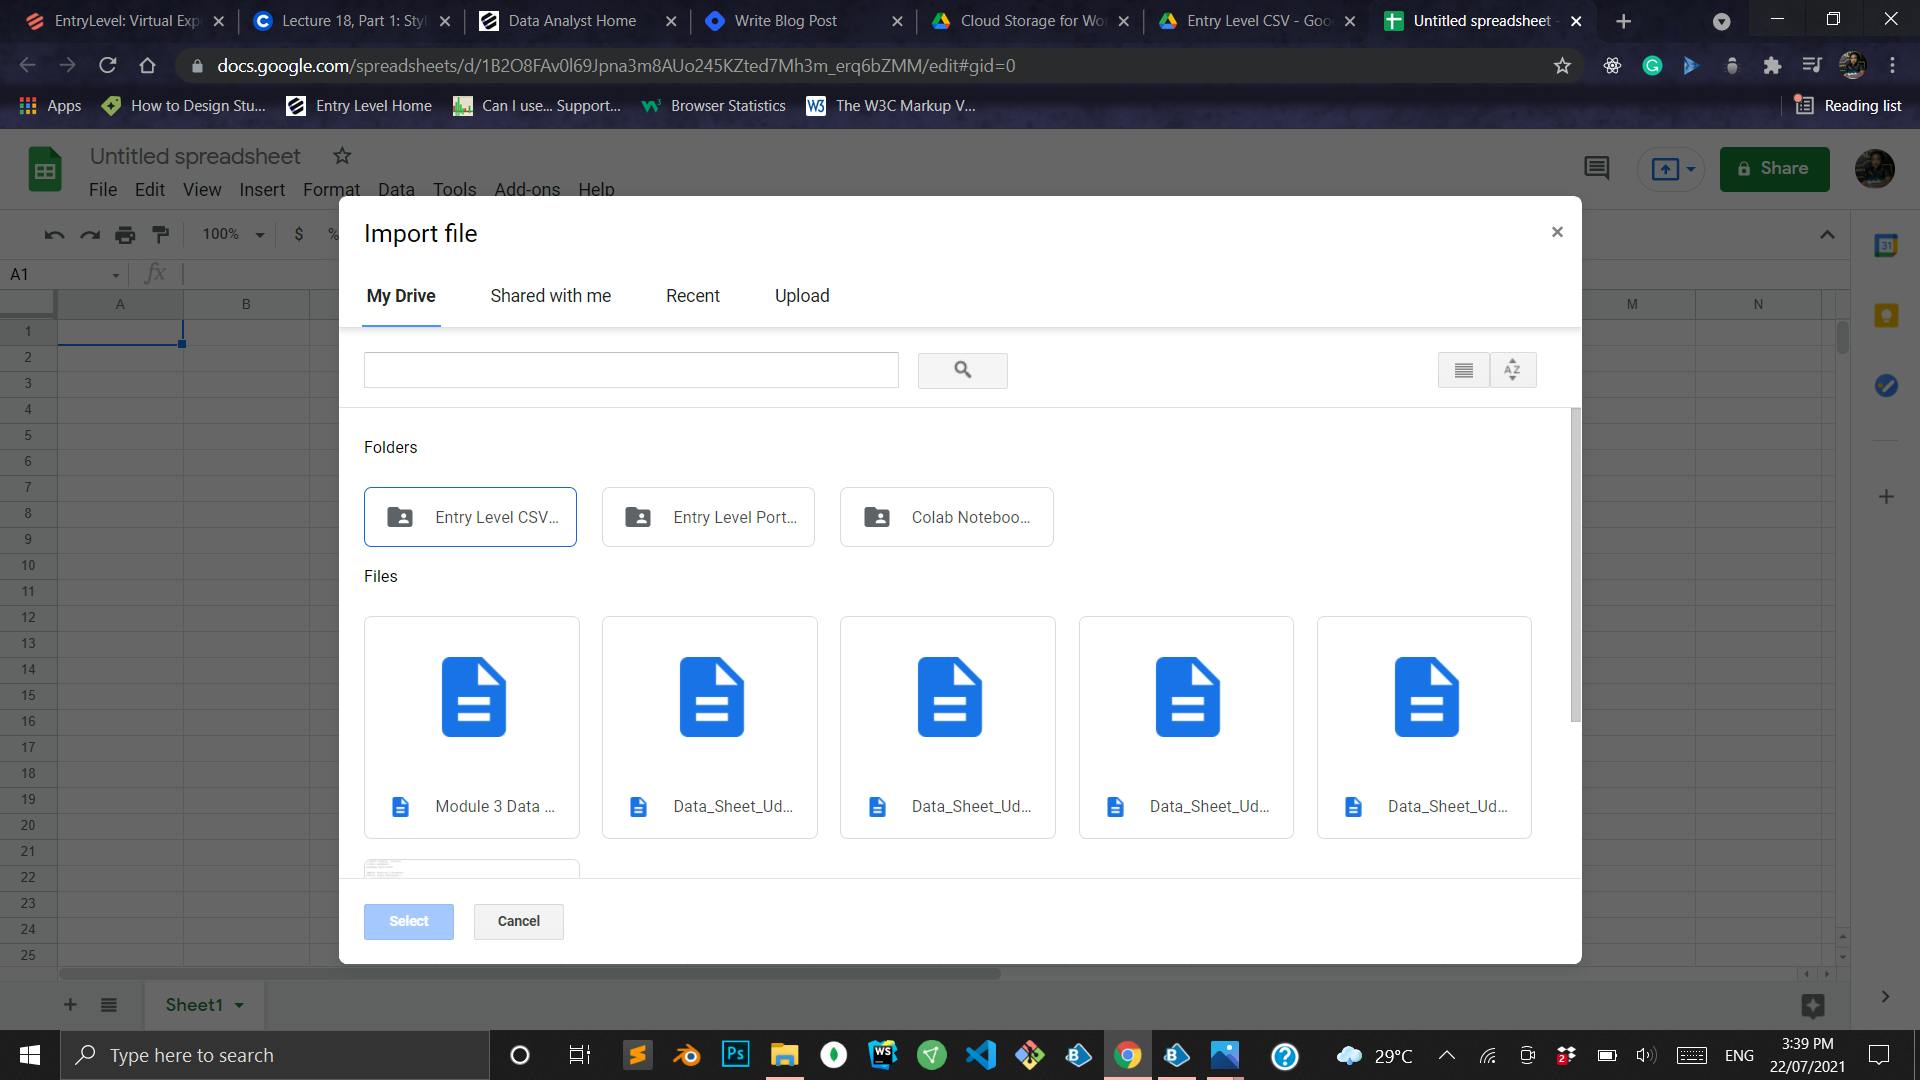
To import, click on the File tab then select Import
If the file is stored in your drive select the location from My Drive. if it's in your local system then select the Upload tab and provide the location.
NOTE: YOU CAN ONLY UPLOAD ONE FILE AT A TIME
If you have provided the correct location and selected a file, you should see this now:
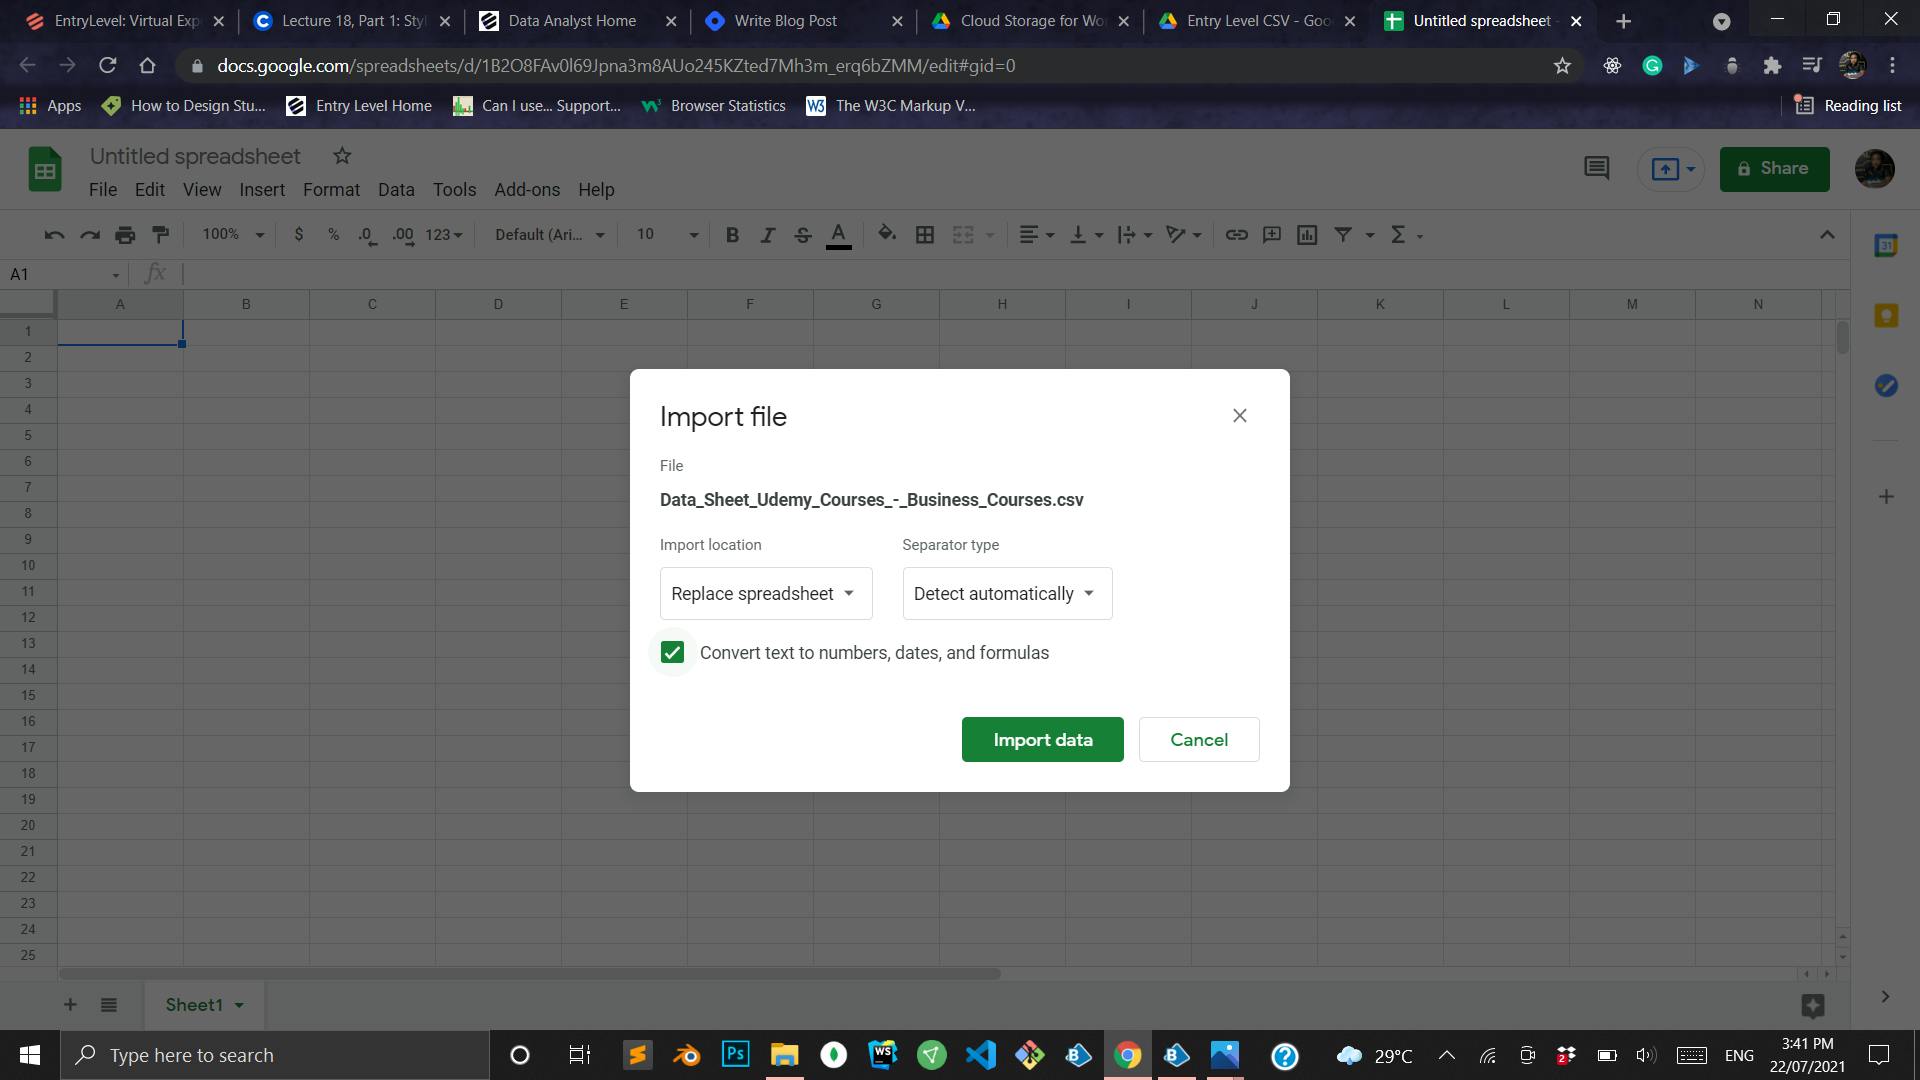
We would go with these default choices for the first upload. Click Import data
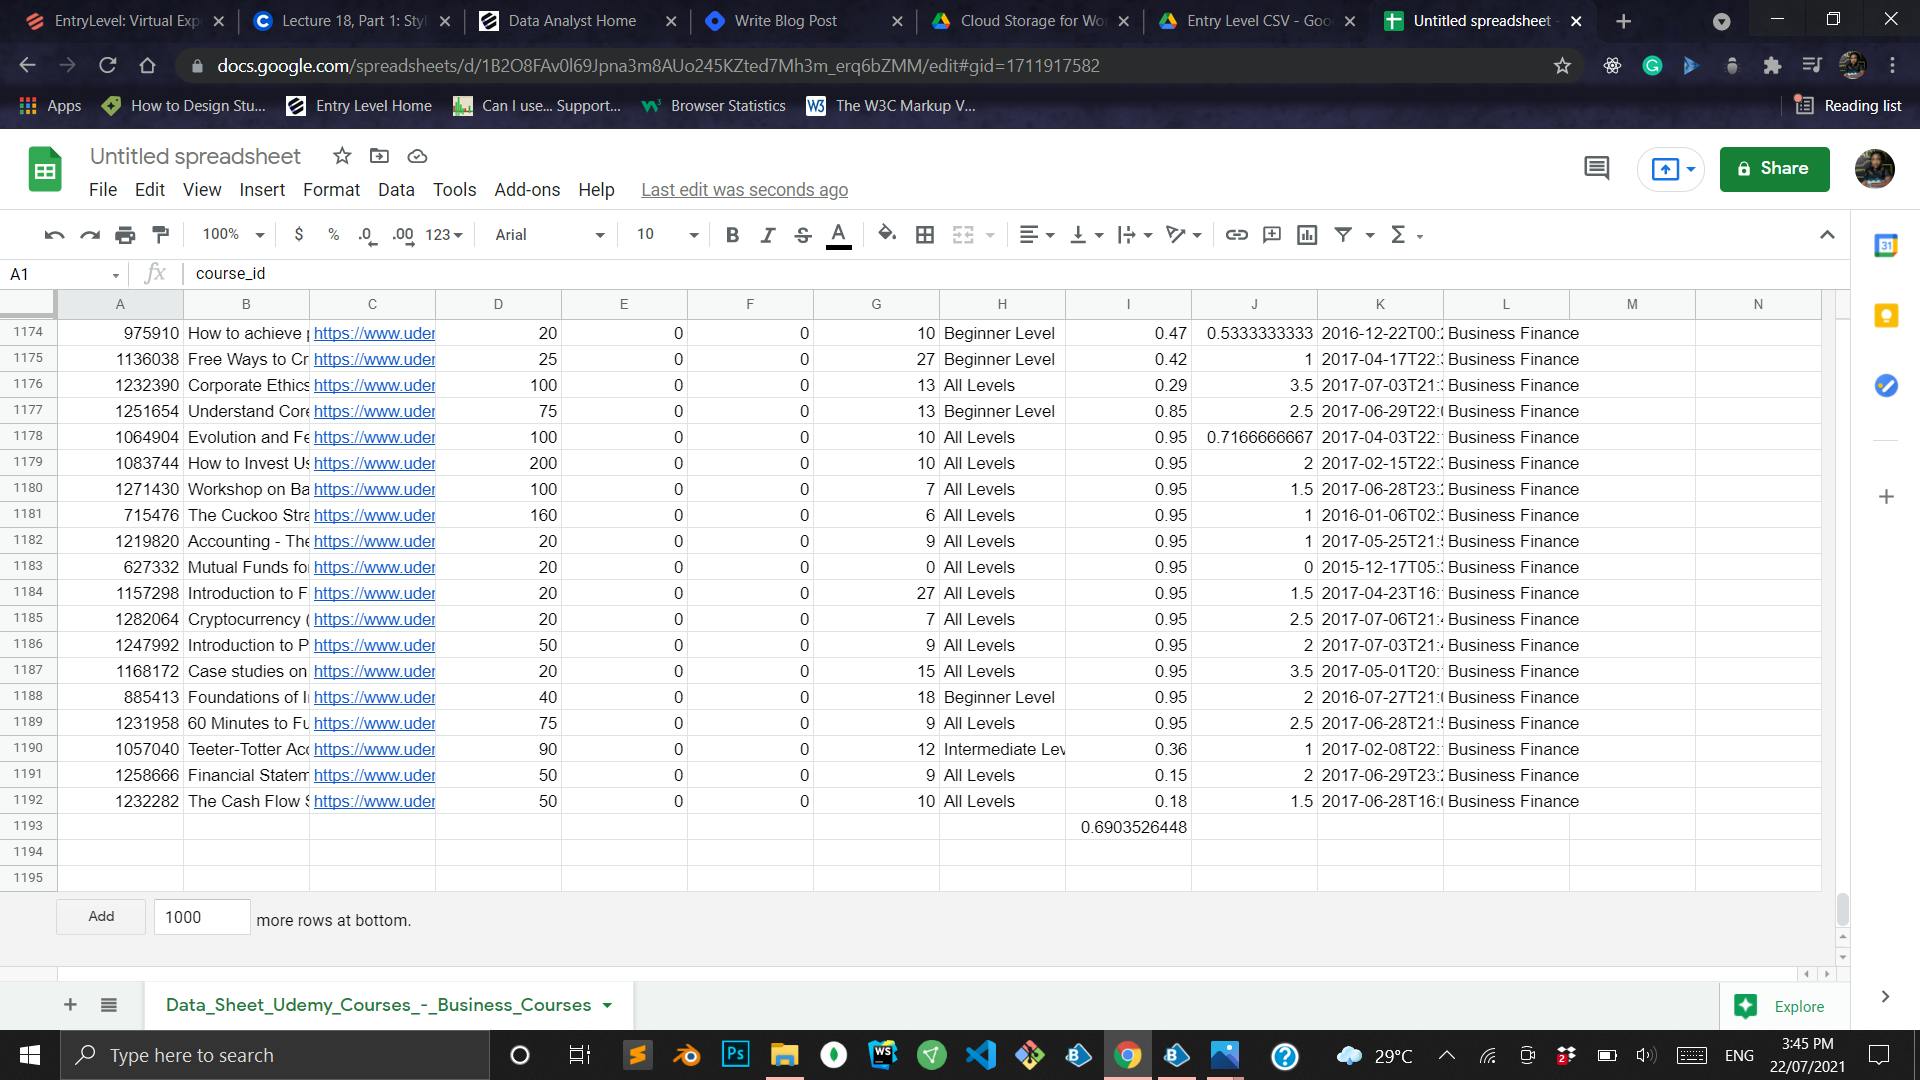
If everything goes well, our data should be imported successfully.
Now unto the next upload, we would repeat the same process up until after file location selection. Here, we would be selecting something different:
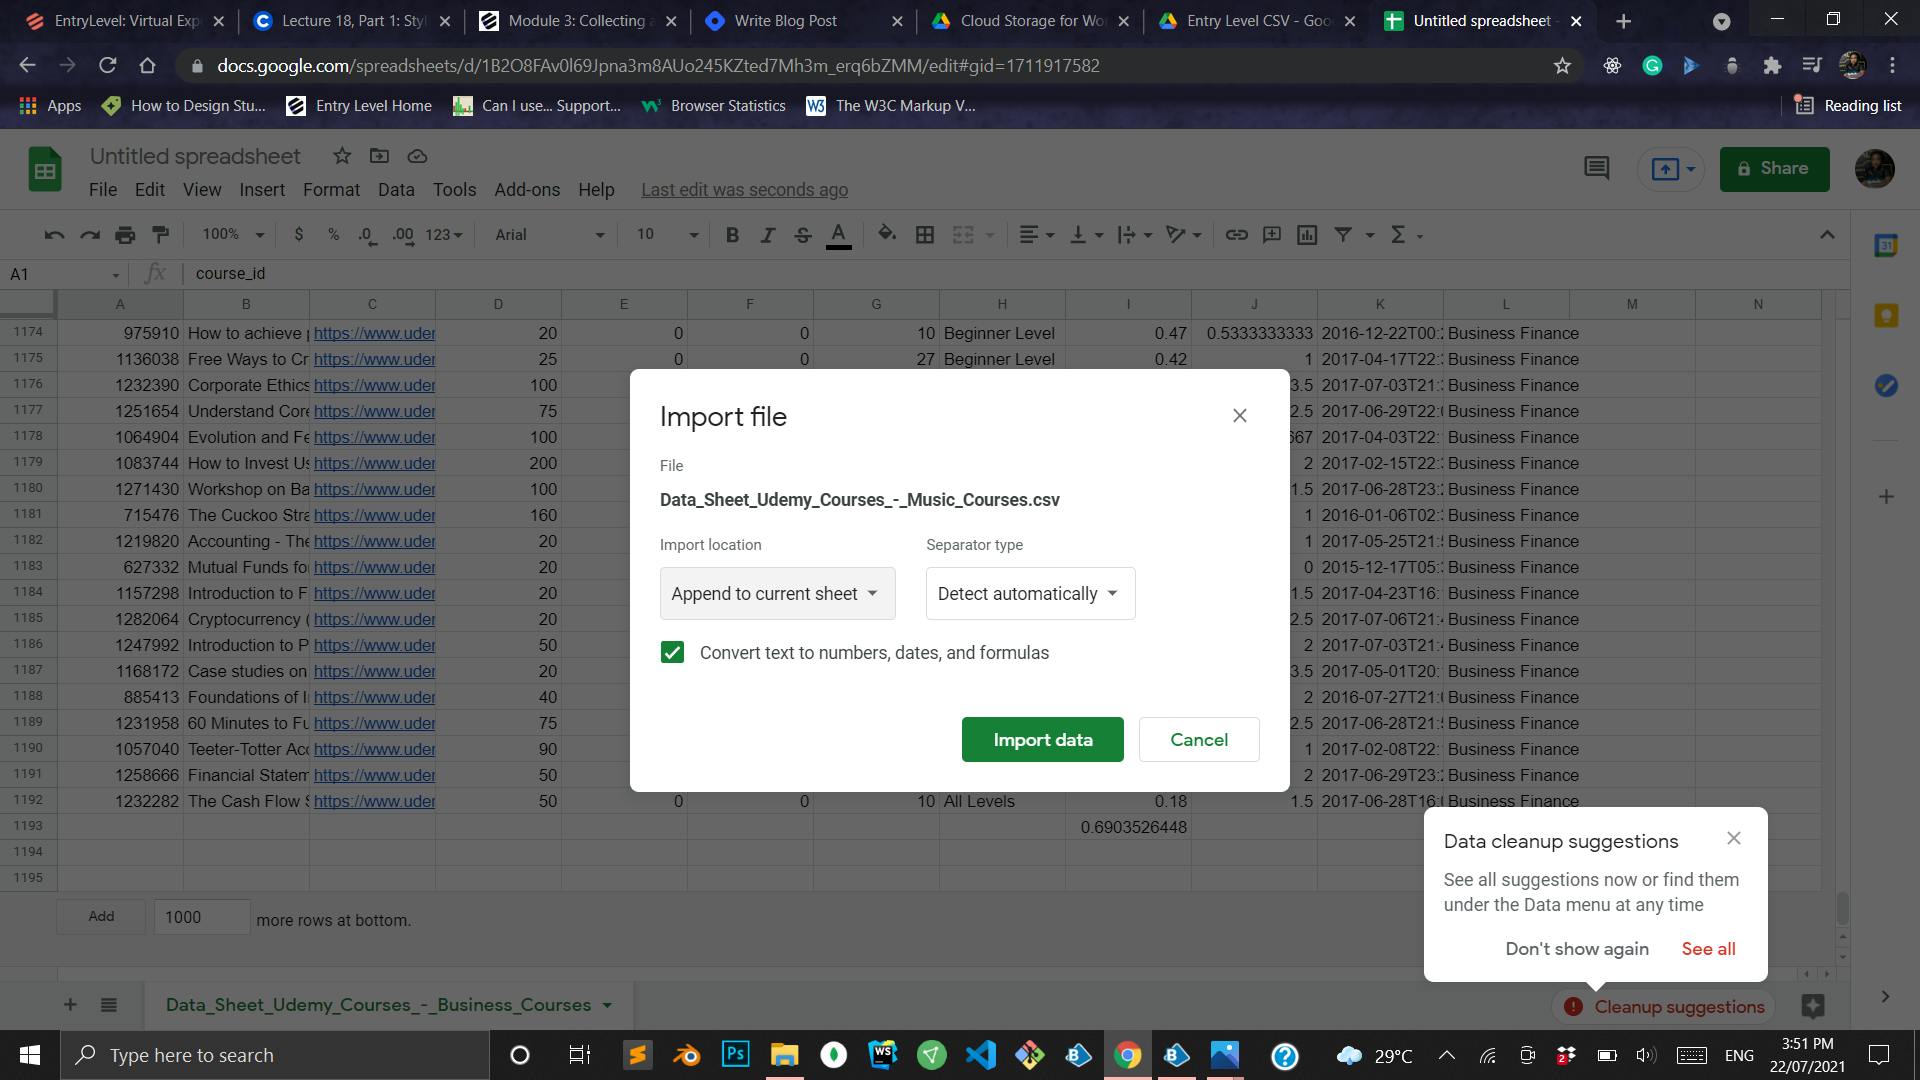
This time instead of replacing the current sheet or creating a new one, we would append it to the current sheet since we want all our data in one file/ spreadsheet.
Repeat the same process for the remaining two files.
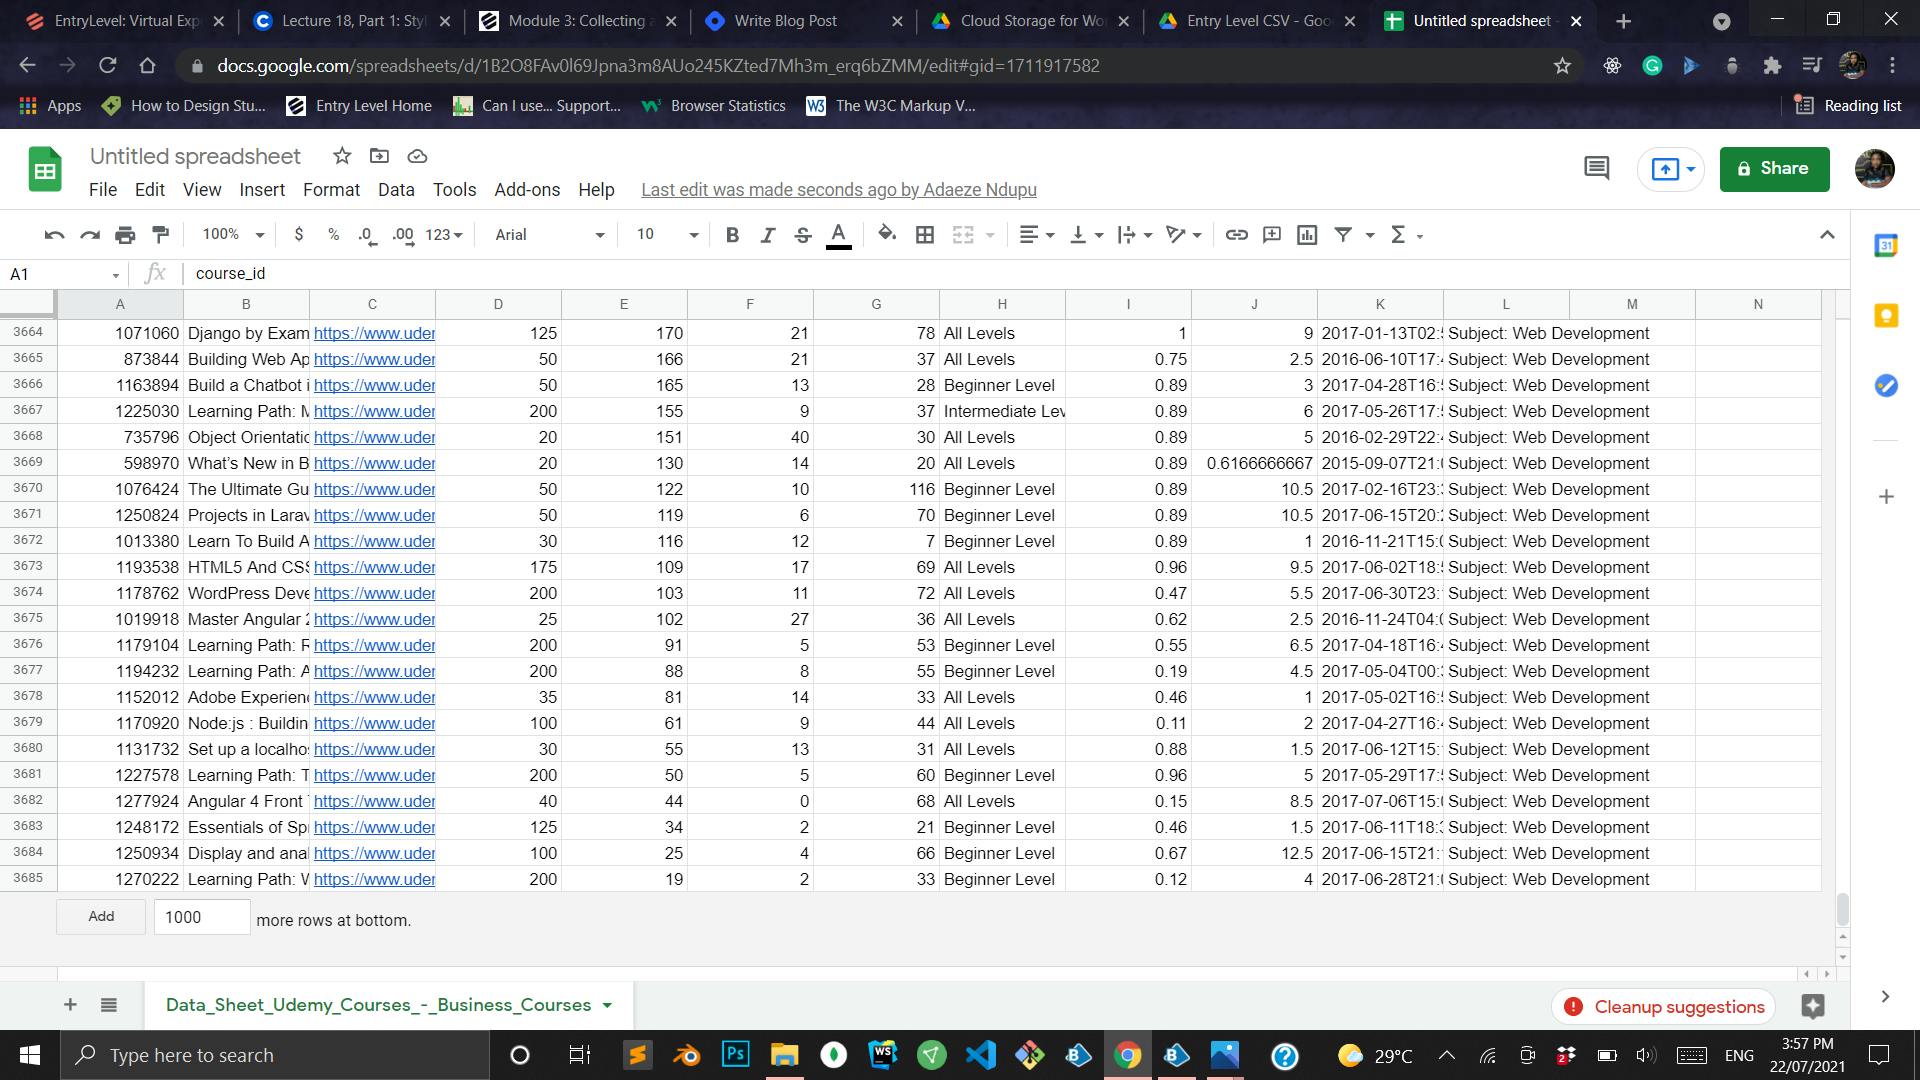
With all this being imported successfully, there should be a total of 3685 rows
DATA CLEANING
What is Data Cleaning?
As defined by Tableau:
Data cleaning is the process of fixing or removing incorrect, corrupted, incorrectly formatted, duplicate, or incomplete data within a dataset.
When combining multiple data sources, there are many opportunities for data to be duplicated or mislabeled. If data is incorrect, outcomes and algorithms are unreliable, even though they may look correct. There is no one absolute way to prescribe the exact steps in the data cleaning process because the processes will vary from dataset to dataset. But it is crucial to establish a template for your data cleaning process so you know you are doing it the right way every time.
Removing Duplicates
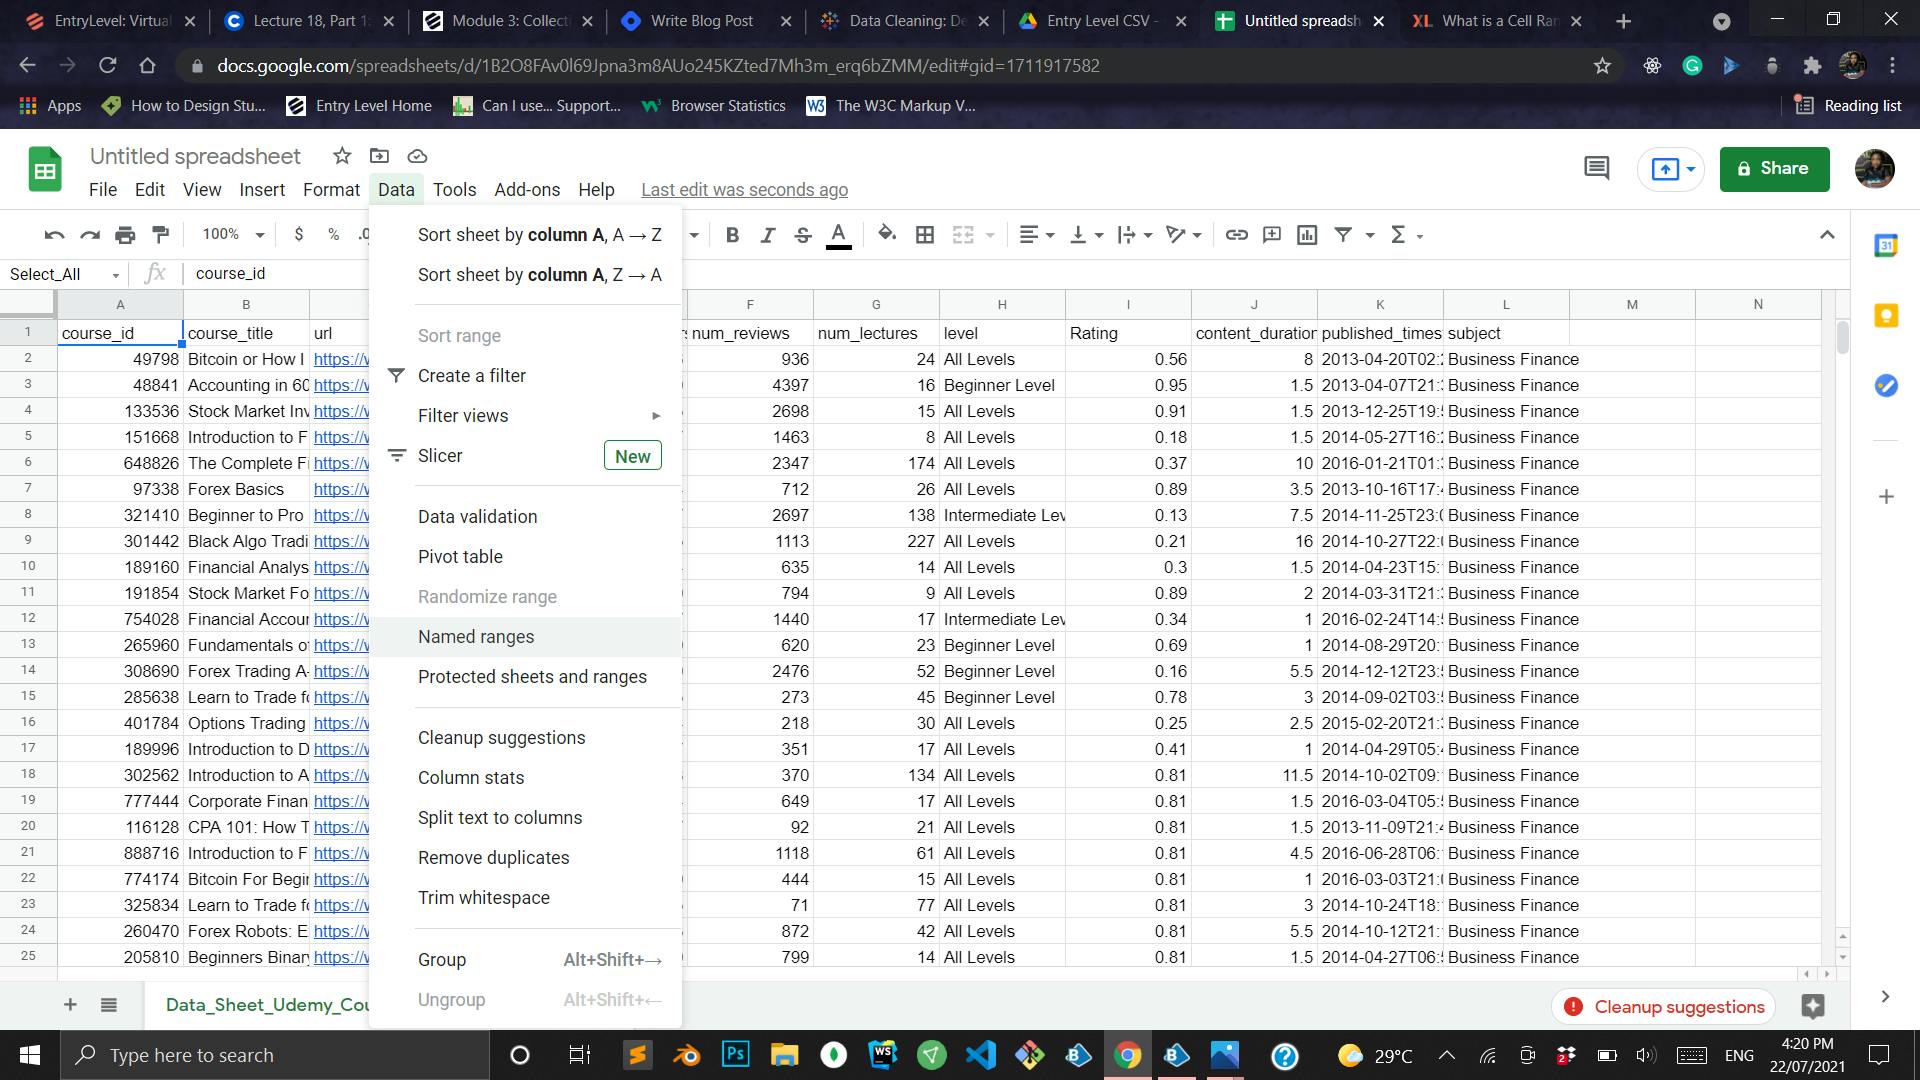
- Select All columns and rows
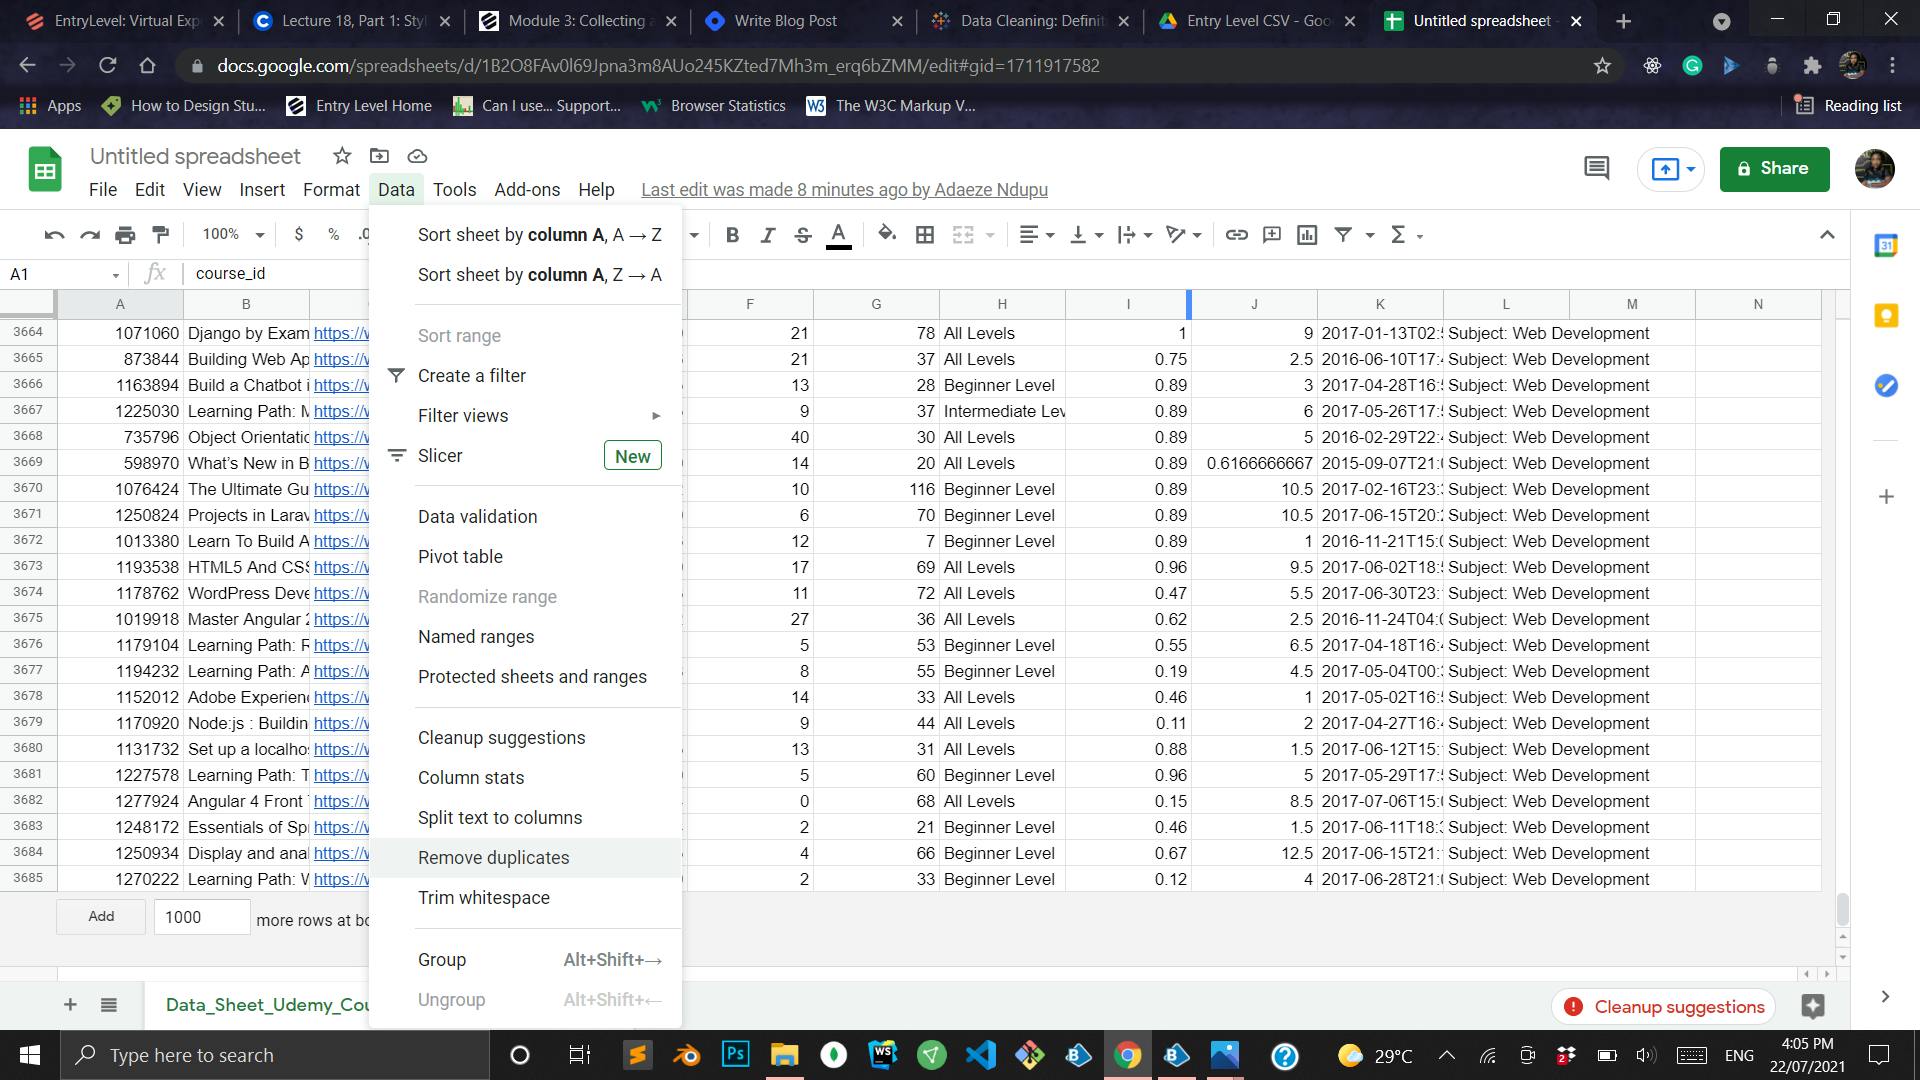
Ctrl + A to select the entire sheet should be what most people would attempt to do but it wouldn't work in this case, why? because we have blank rows meaning the selection would stop prematurely and not capture all rows in the sheet. Instead, we would use something called named range Click on Data > Named Ranges
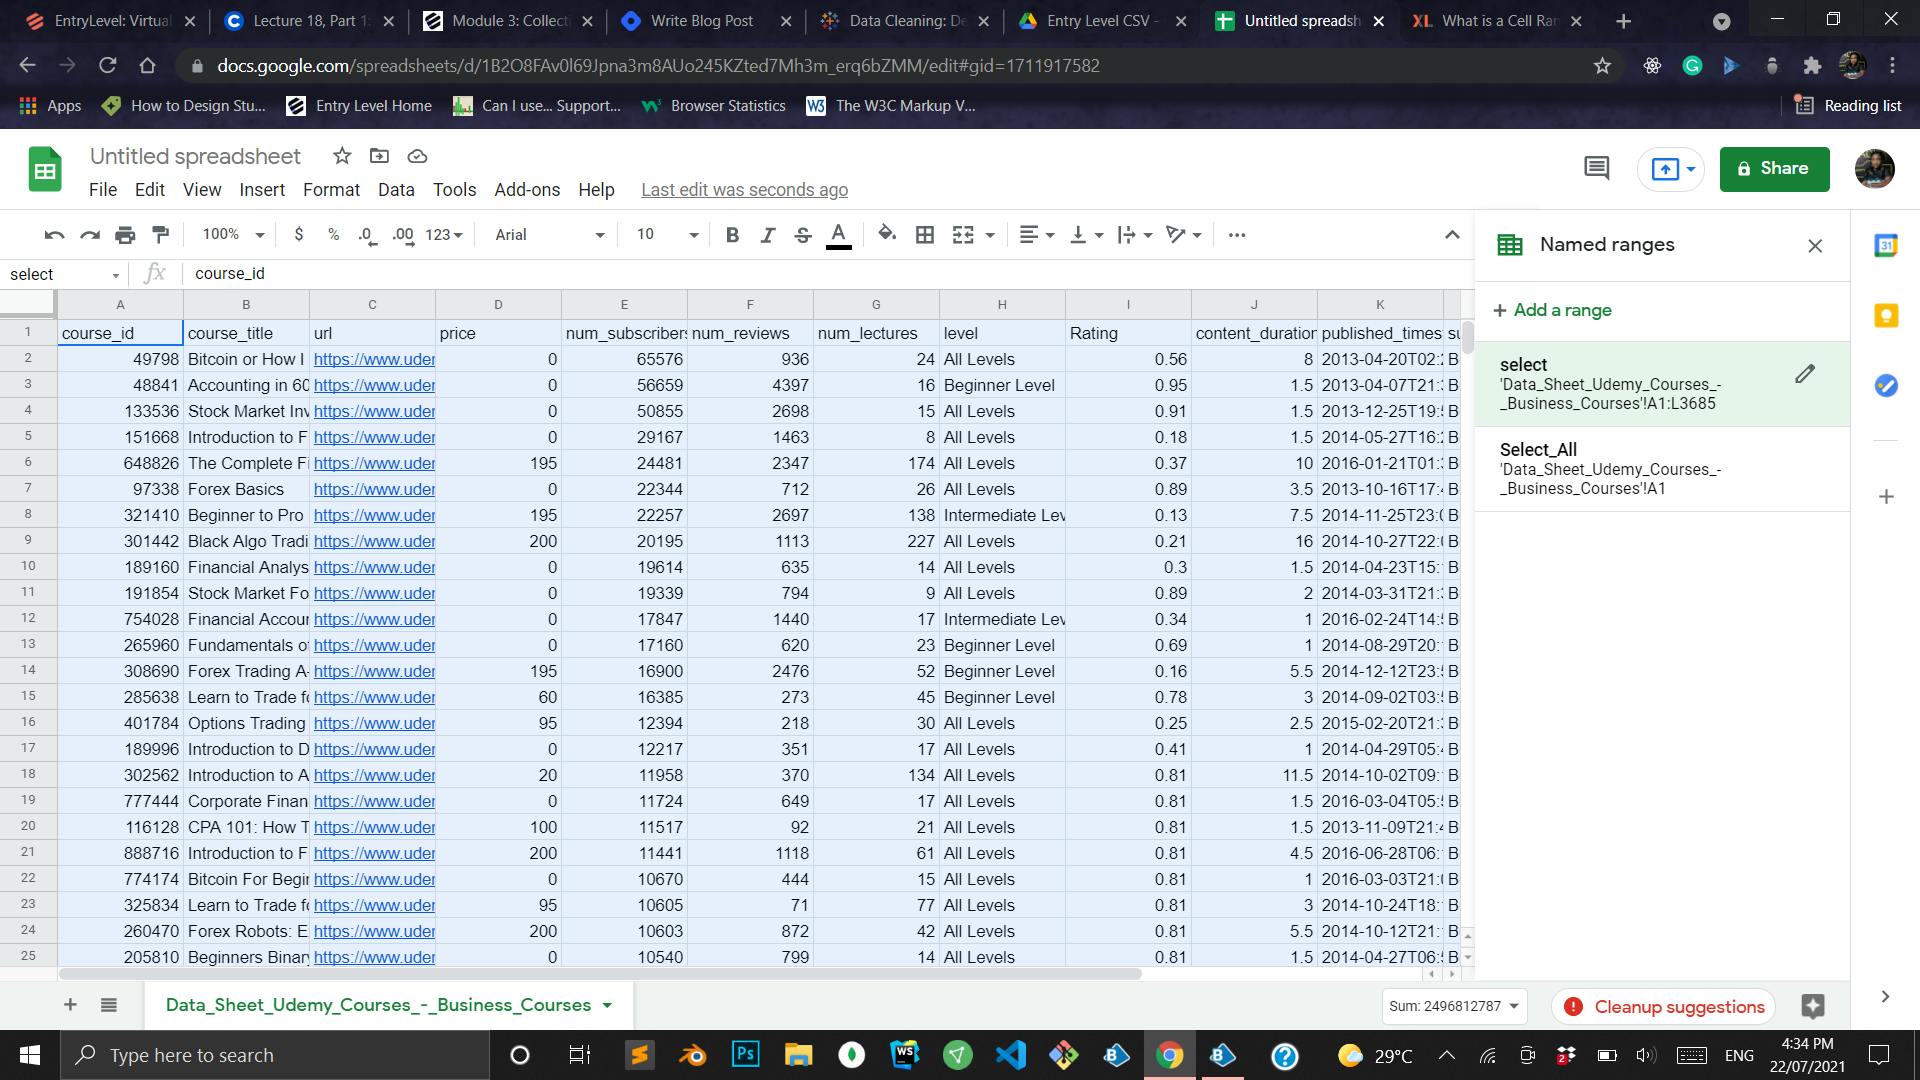
There should be an opened tab on the right called Named Ranges, select Add a Range and give it a name. I will call mine select. We would also edit the next input box which is for the range statement. We know that we have 3685 rows and 12 columns so in order to select all, we would need to go from A1 - L3685 looking like so: 'Data_Sheet_Udemy_Courses_-_Business_Courses'!A1:L3685
The first part is provided in the input already for whatever cell you are currently on, you just need to edit the letters at the end to look like that
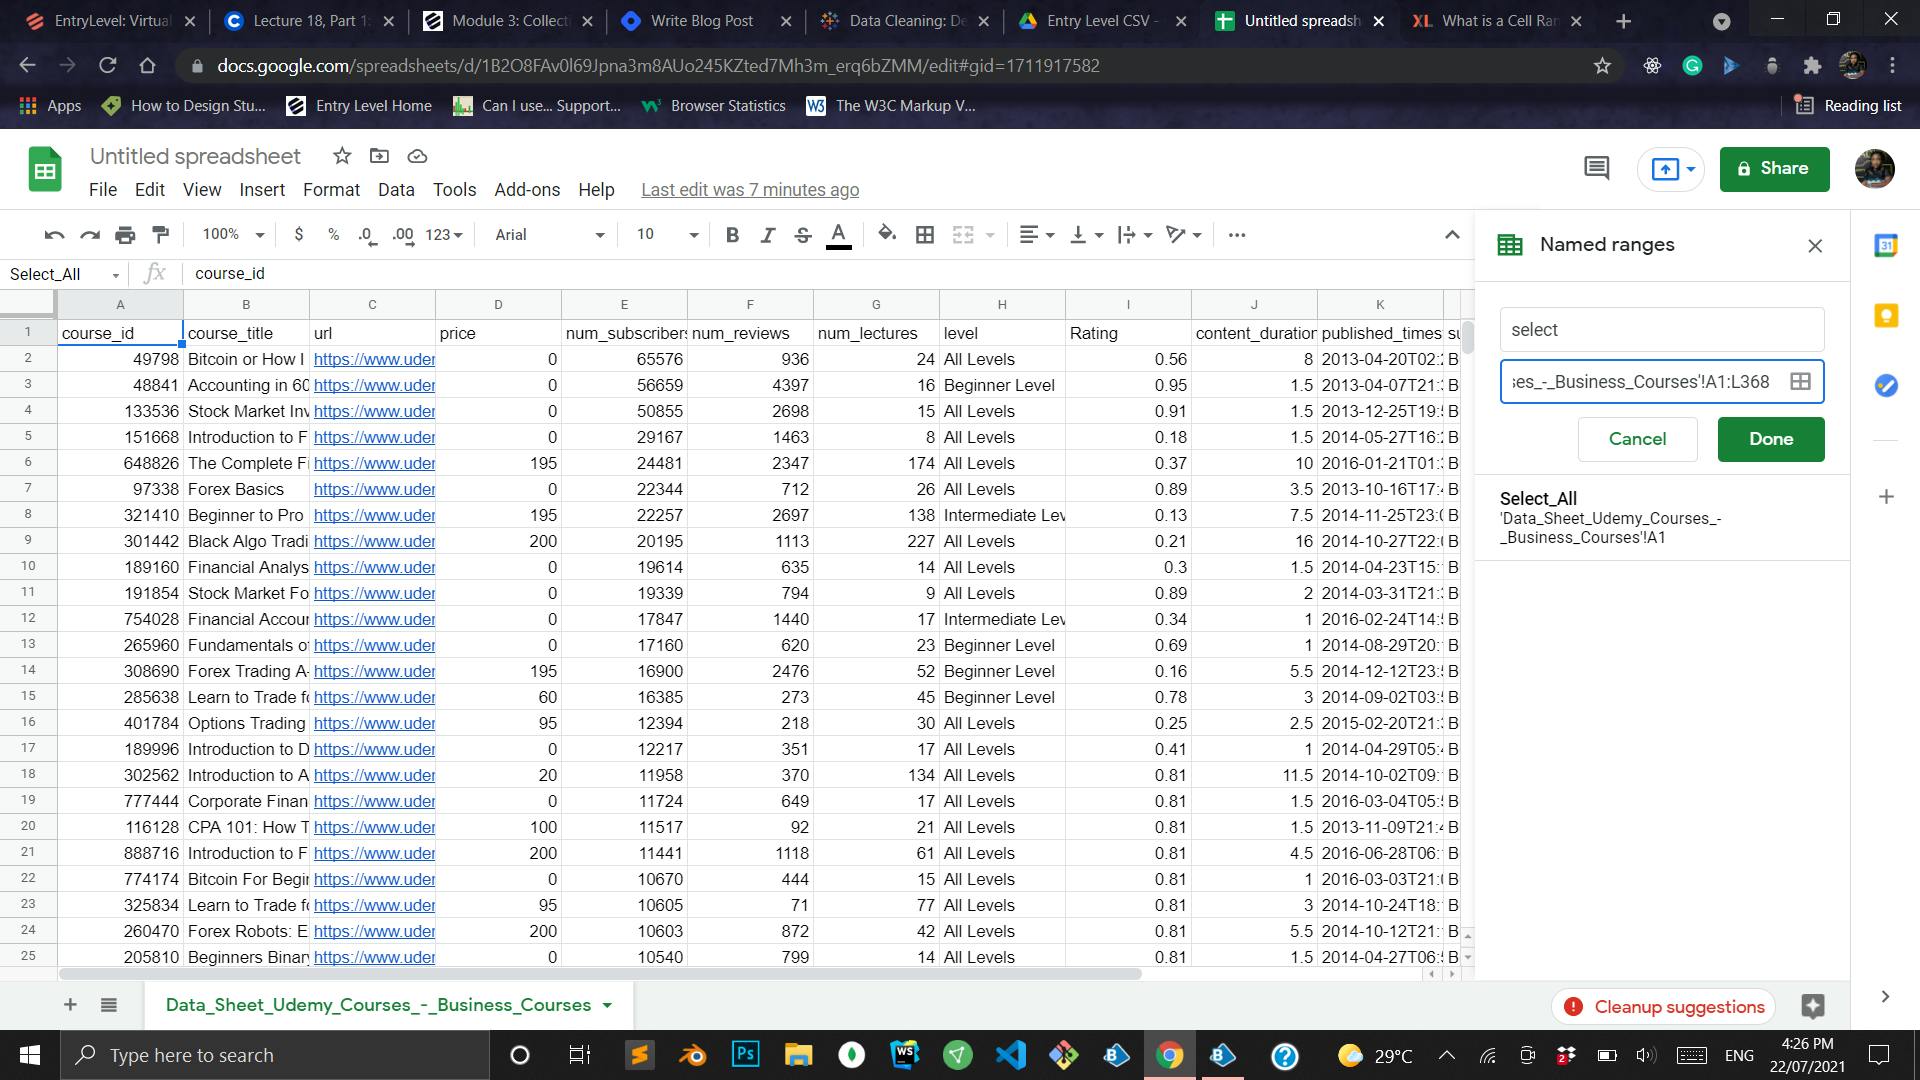
Click Done. Now you have a range, to use it just click on it
All data has been successfully selected, we can now move on to the next step
- Click on Data > Remove Duplicates
You would get a pop-up with all columns selected, if not, select all checkbox should be marked.
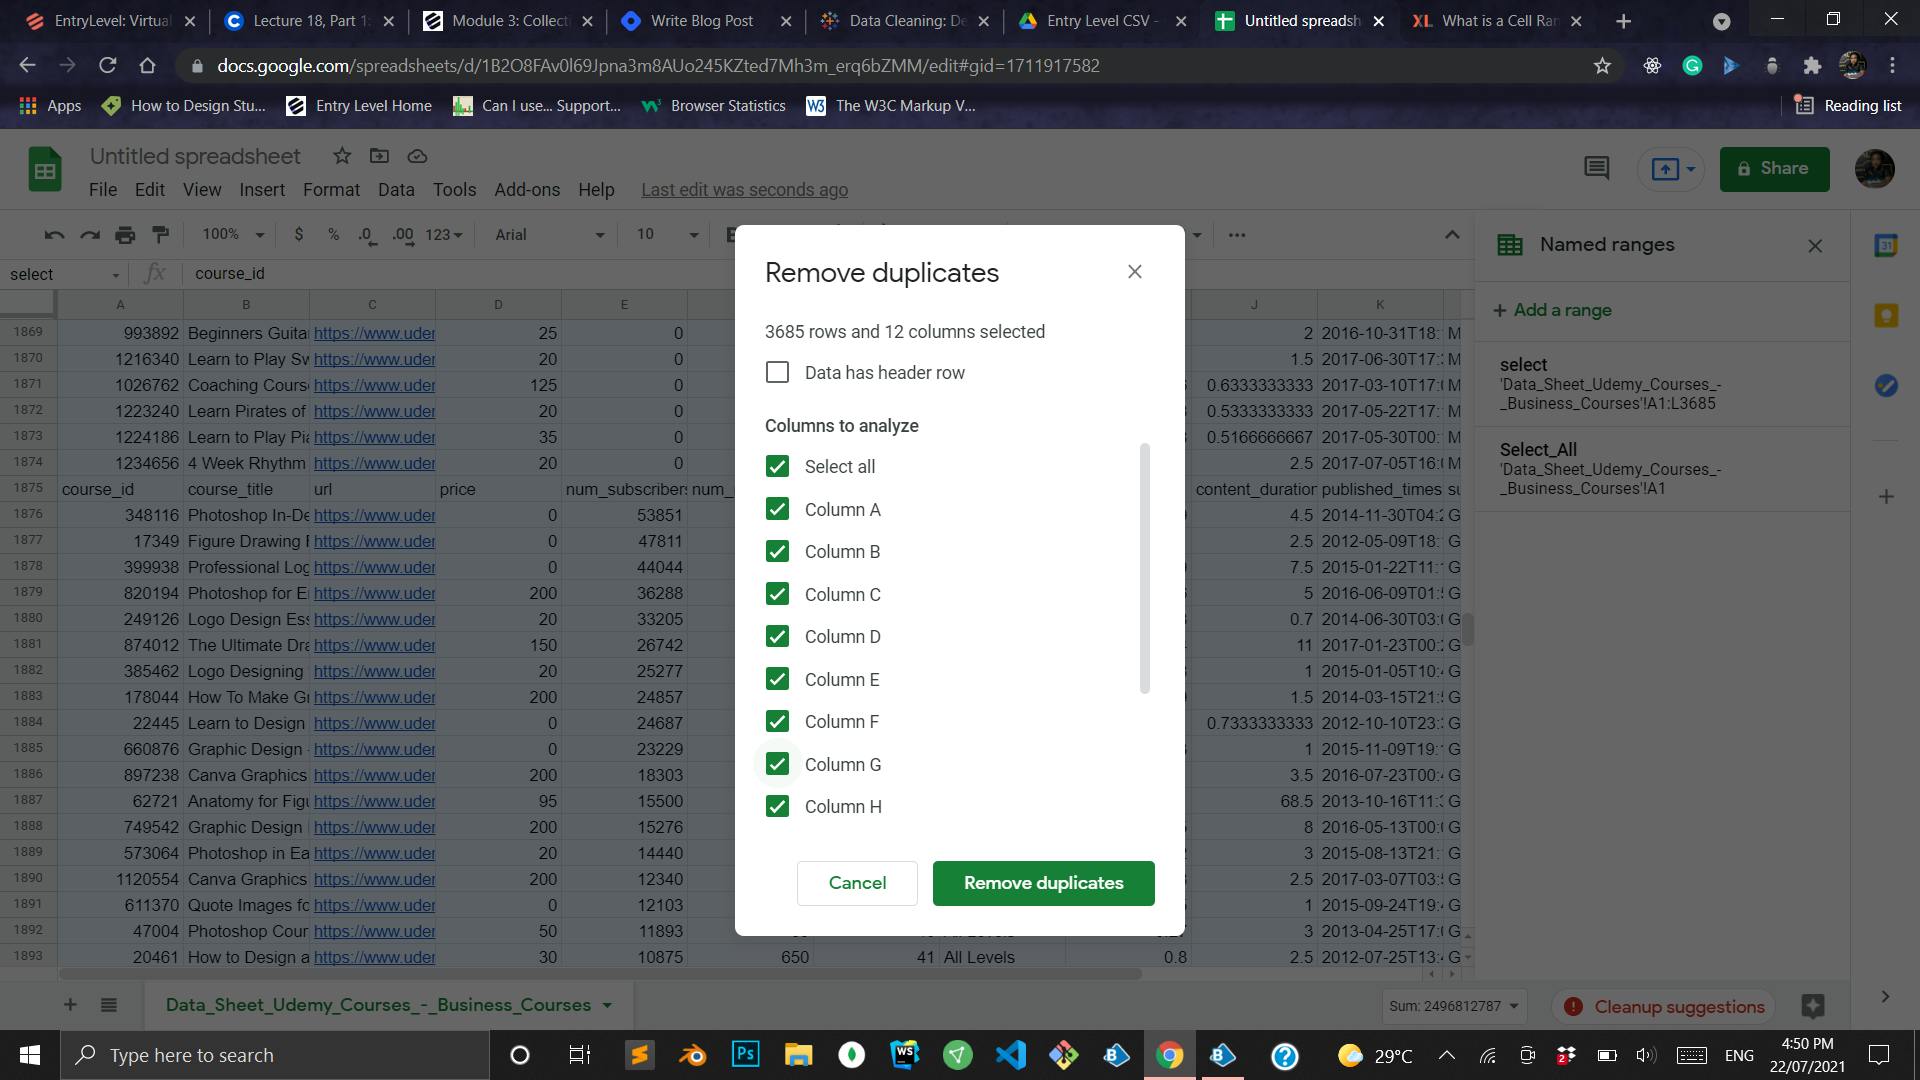
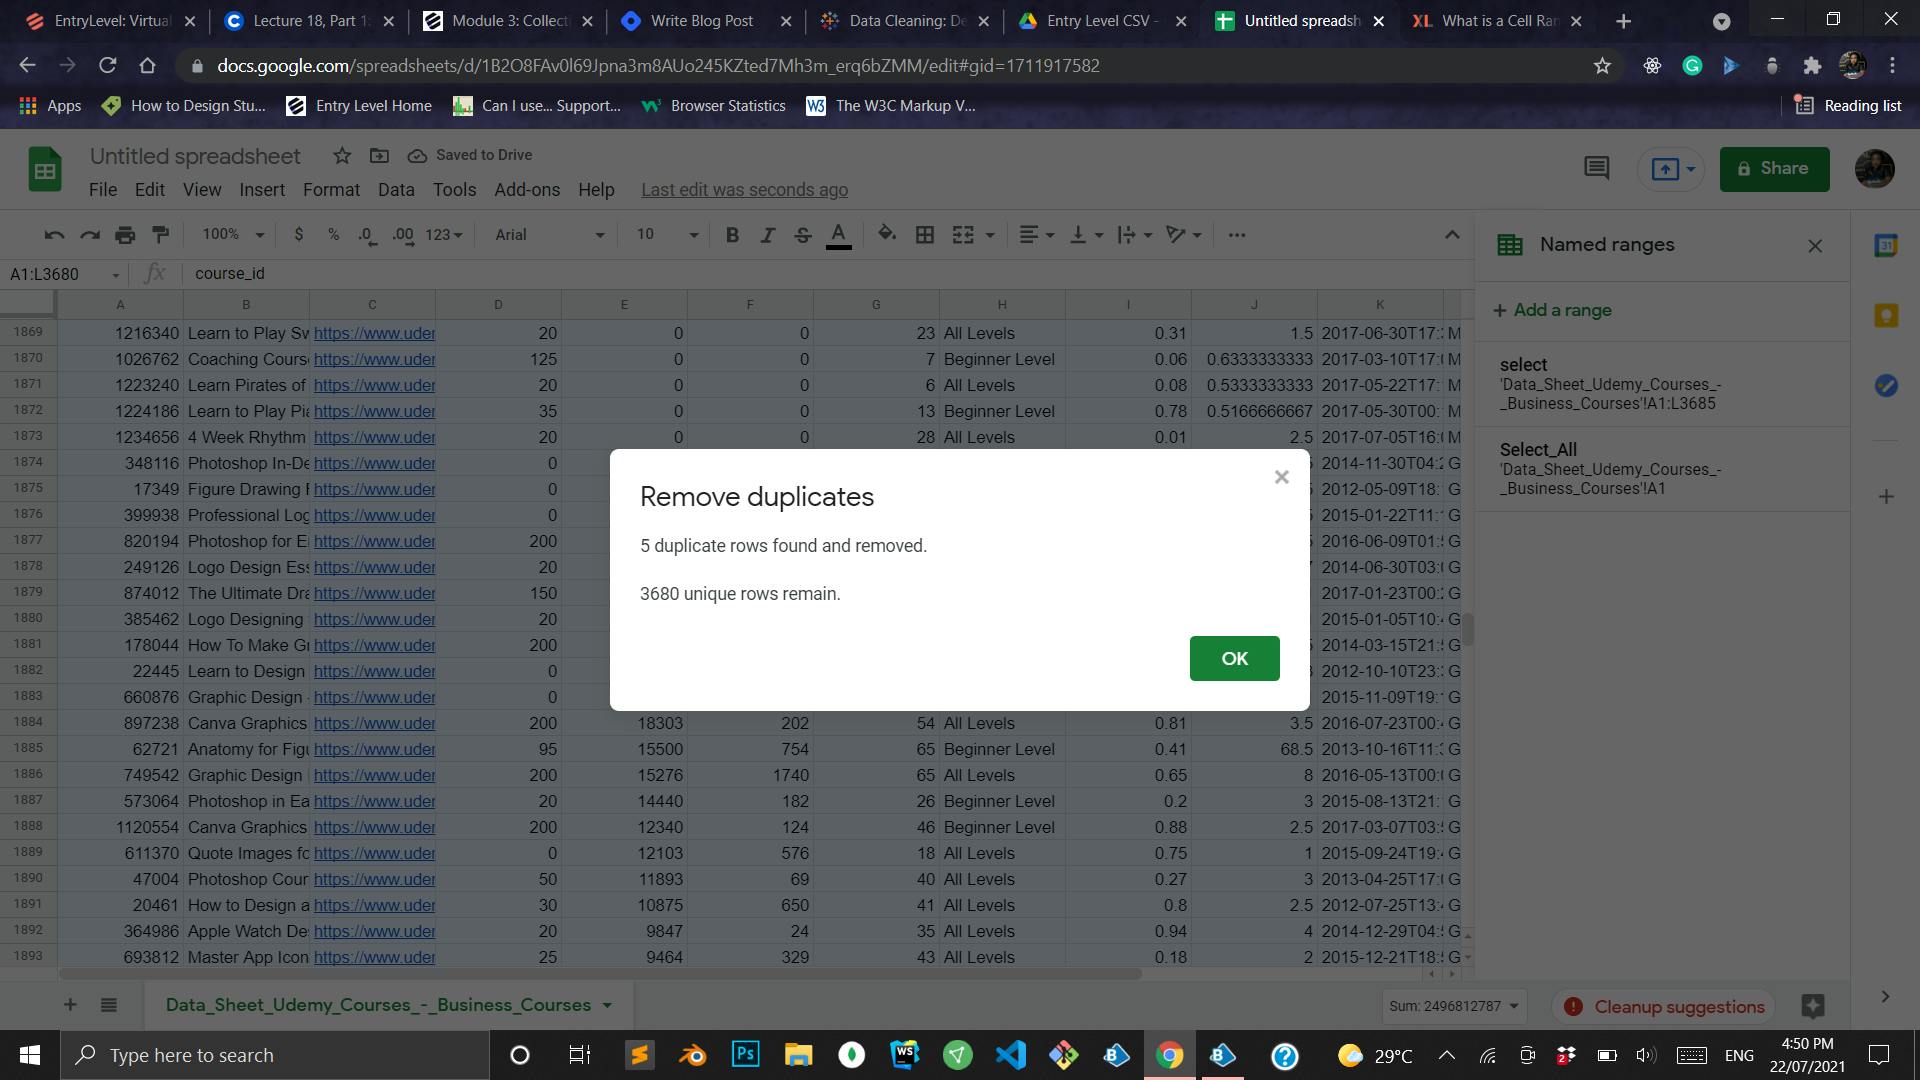
After this click Remove duplicates. A success message specifying the process complete should show up
Removing Blank Cells
Click on our select named range to select all rows and columns
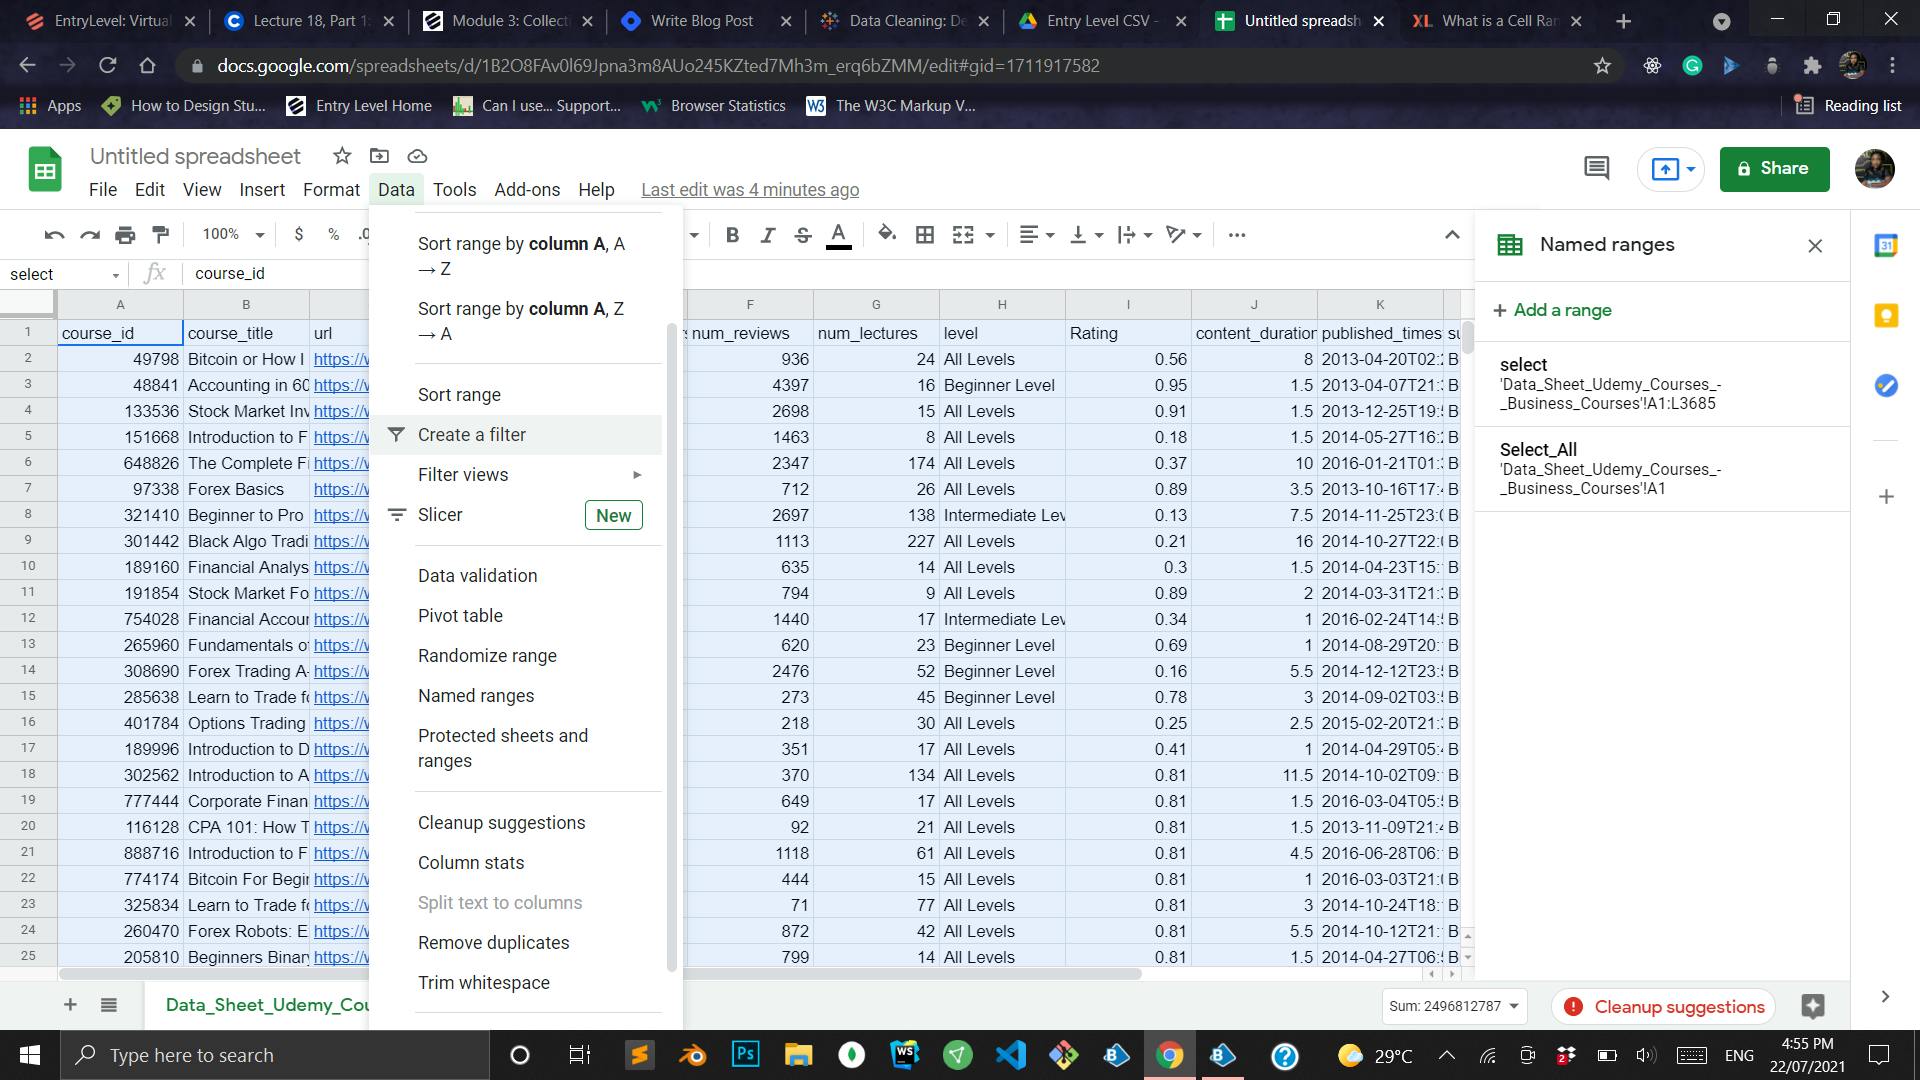
Click on Data > Create a Filter
- Click on the filter icon on any of the column heads
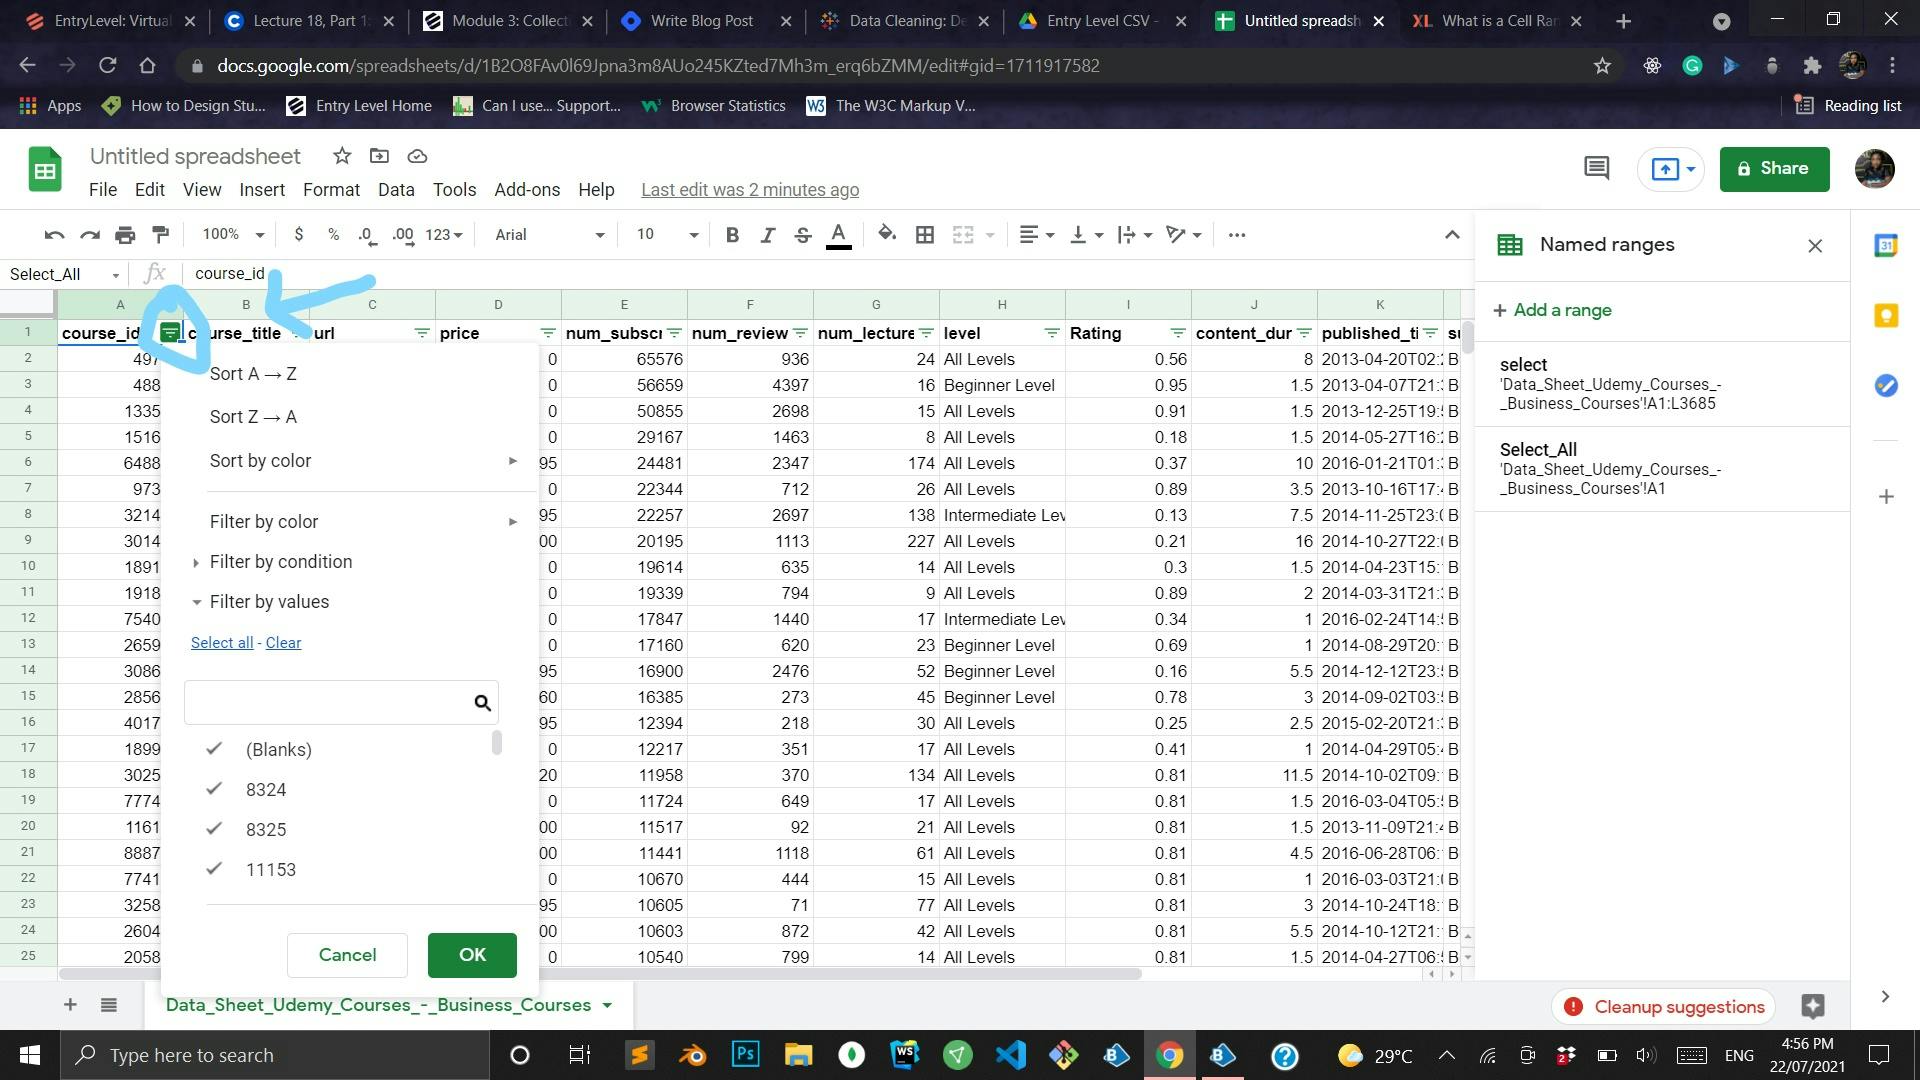
- Click on **Filter by Condition **and select Is empty

Click Ok
After processing, all blank rows would be moved up
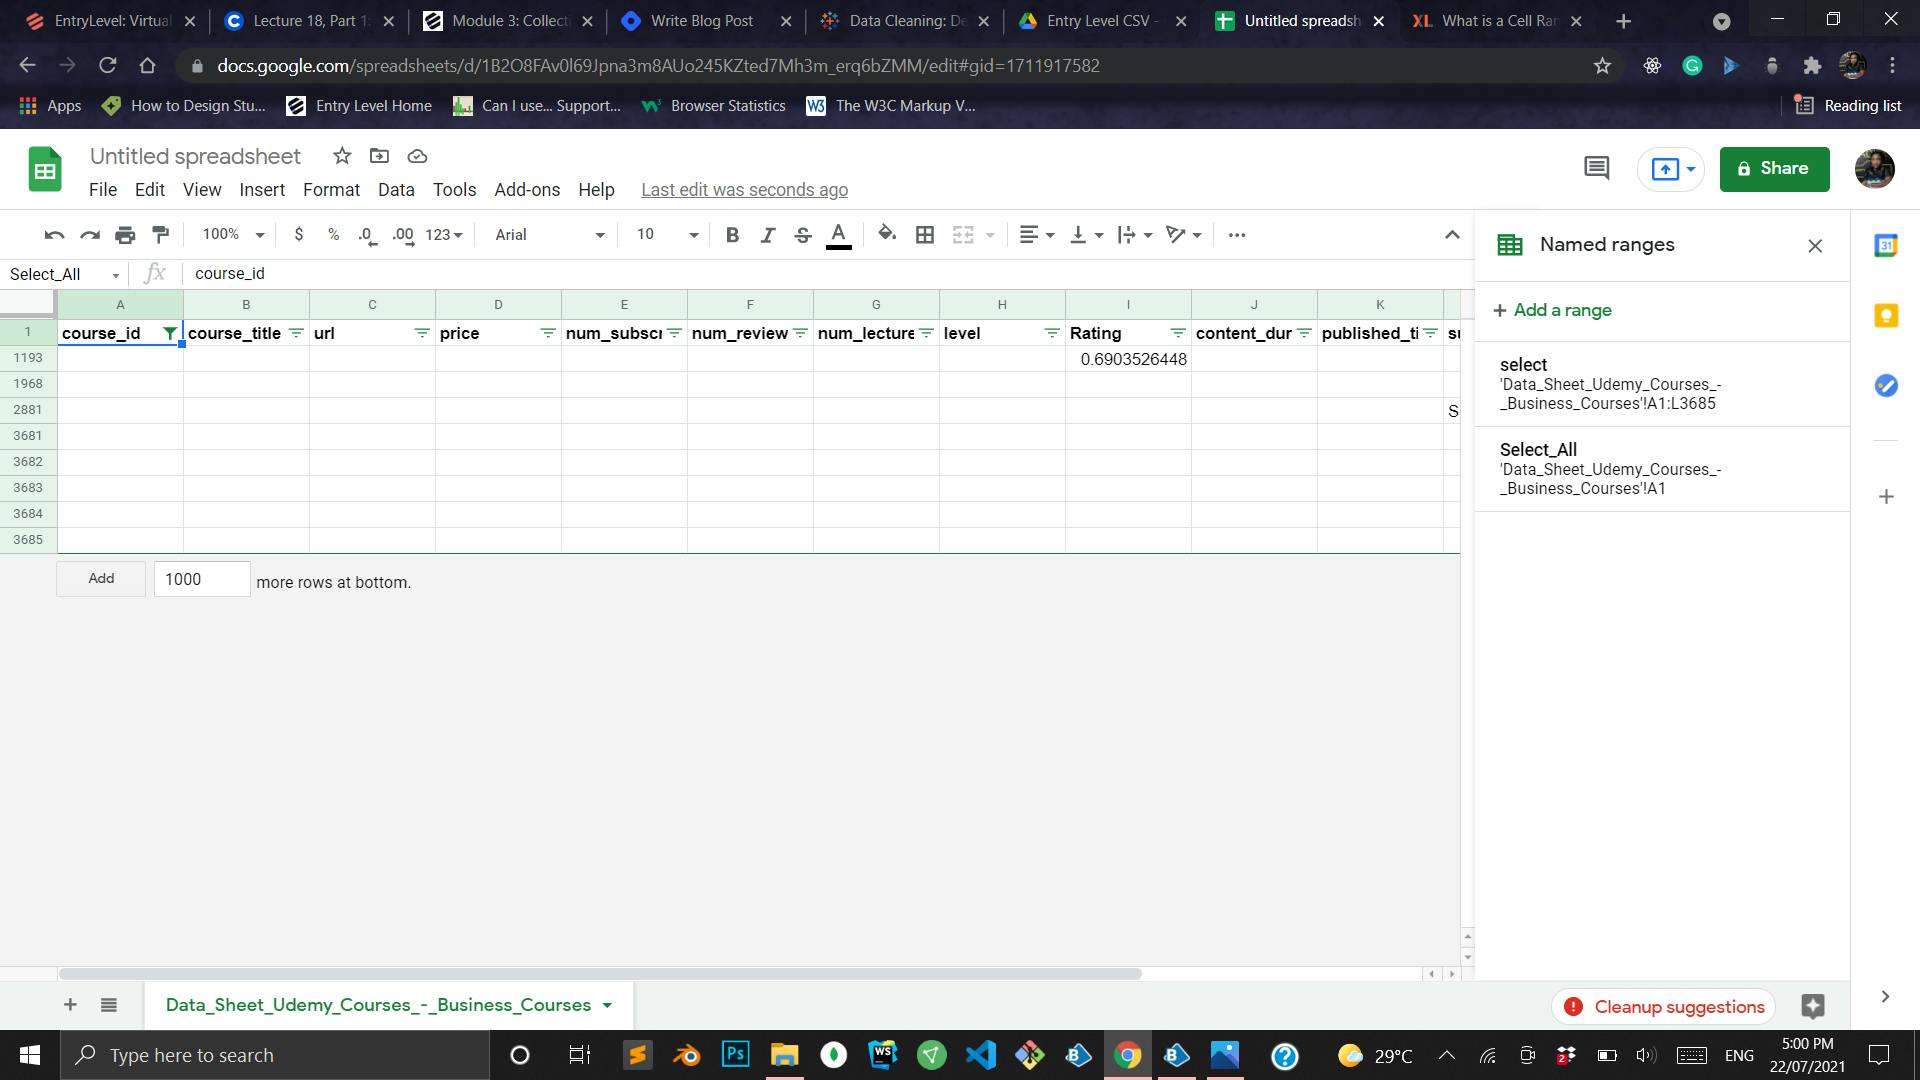
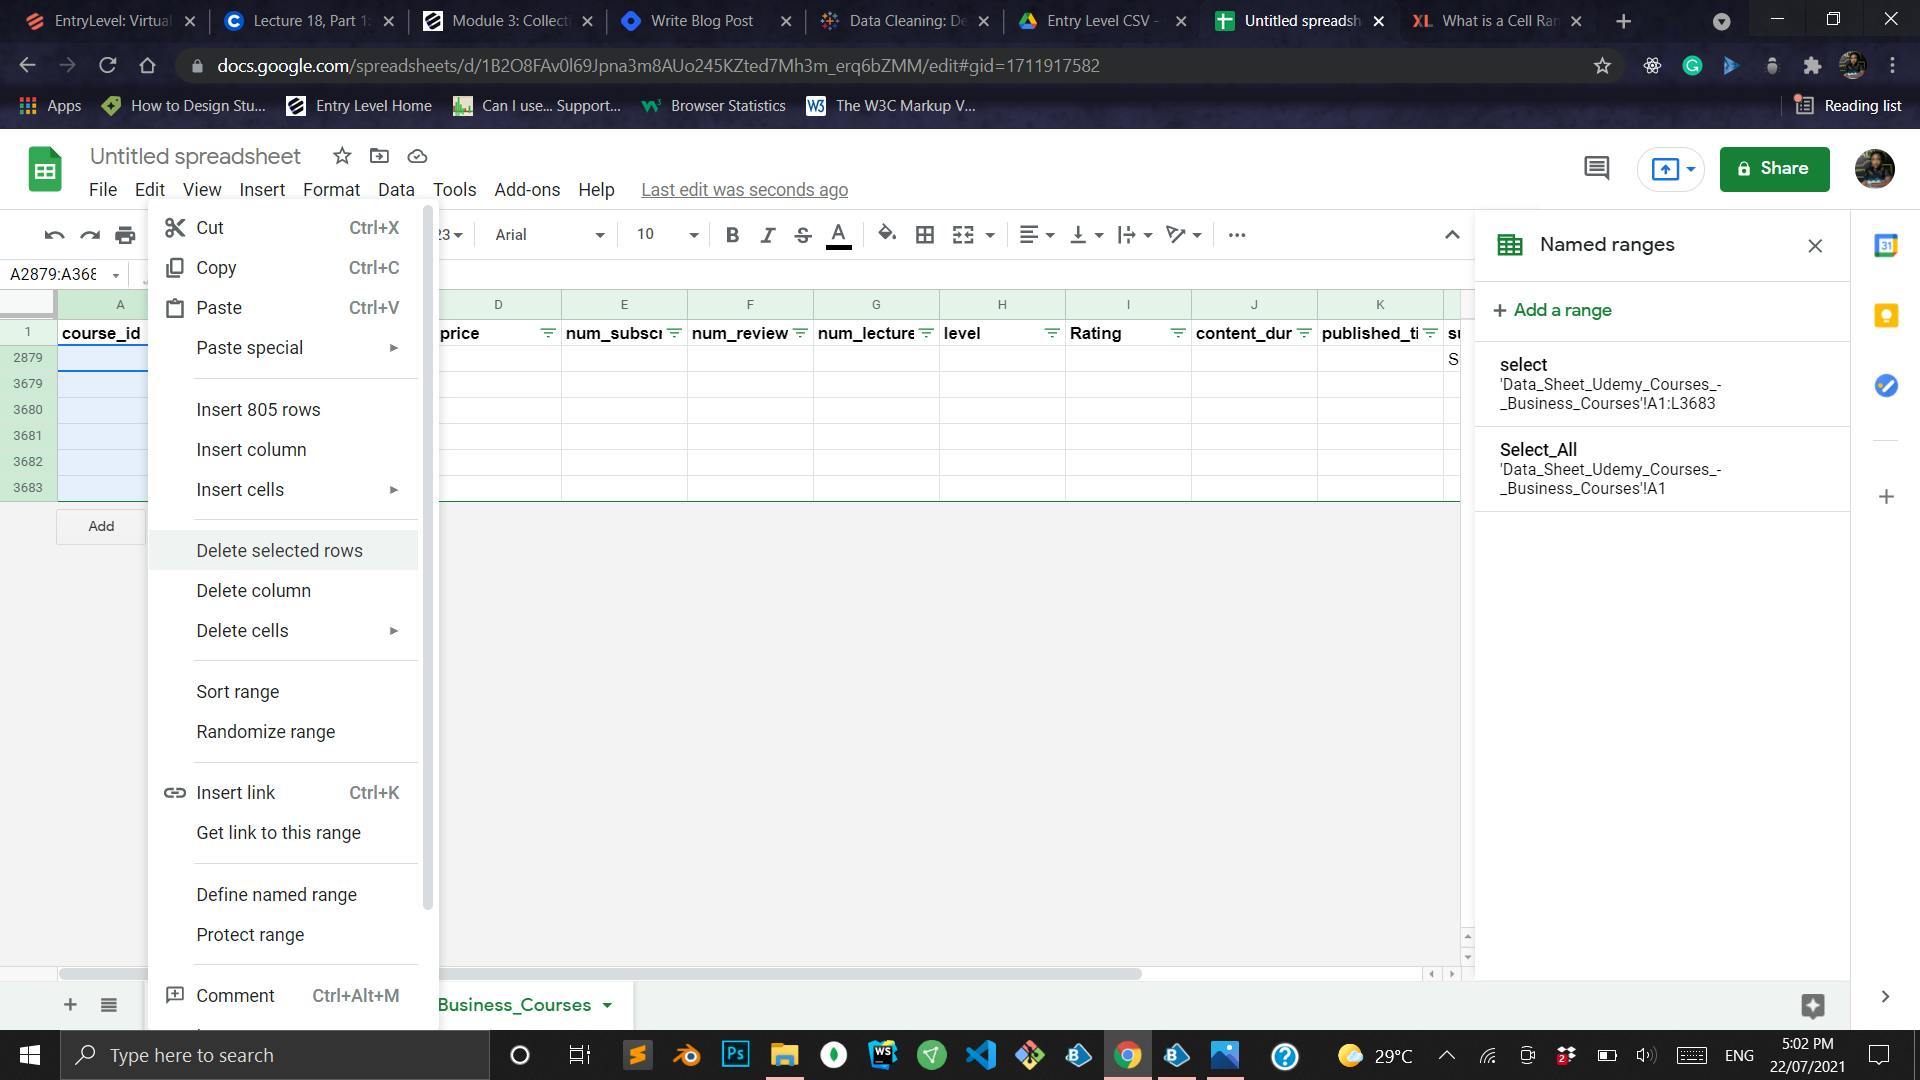
You can now delete each row. Select all the rows in one cell, right-click and select delete selected rows
- Go to Data > Turn off filter
Find and Replace
One of the imported files, the web development file, has a different format for its subject column which is not consistent with the rest. We would find it and replace it with a consistent format
- Go to Edit > Find and Replace
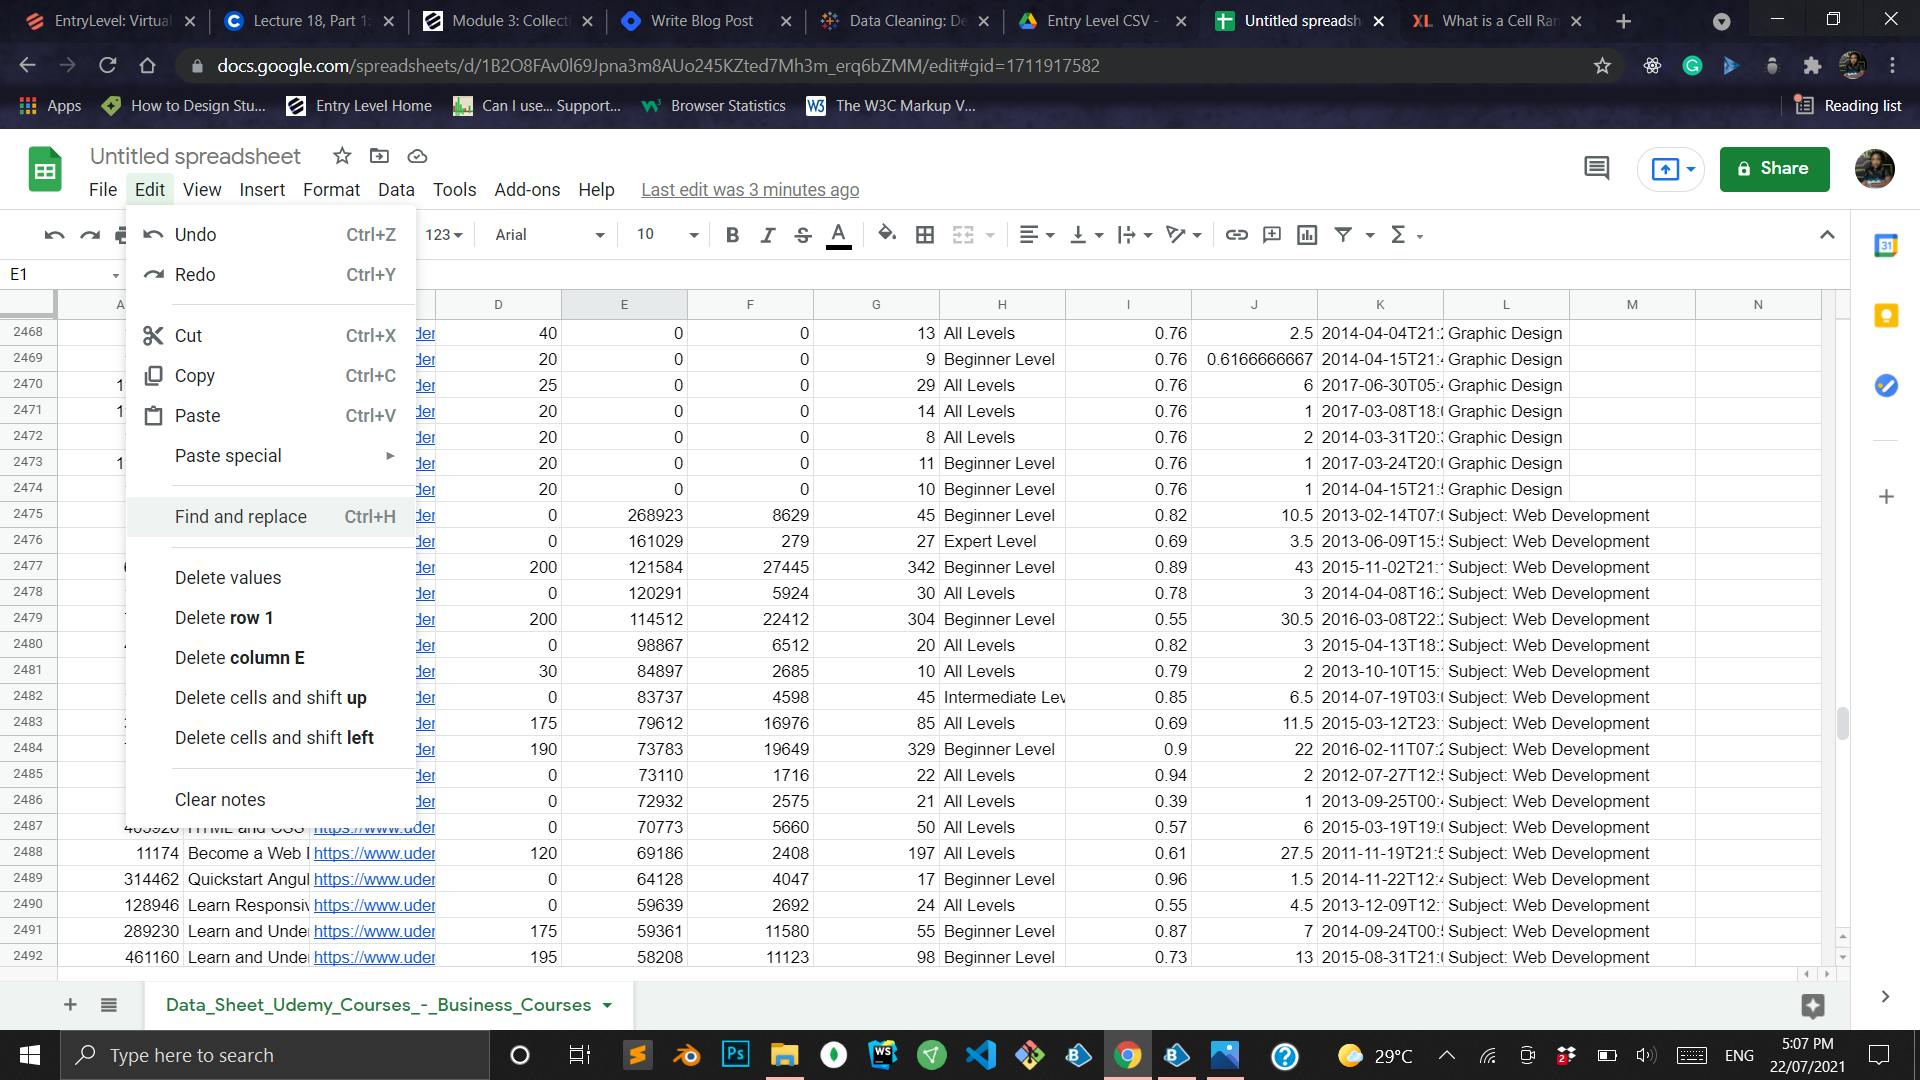
- Find:- Subject: Web Development and Replace with: Web Development
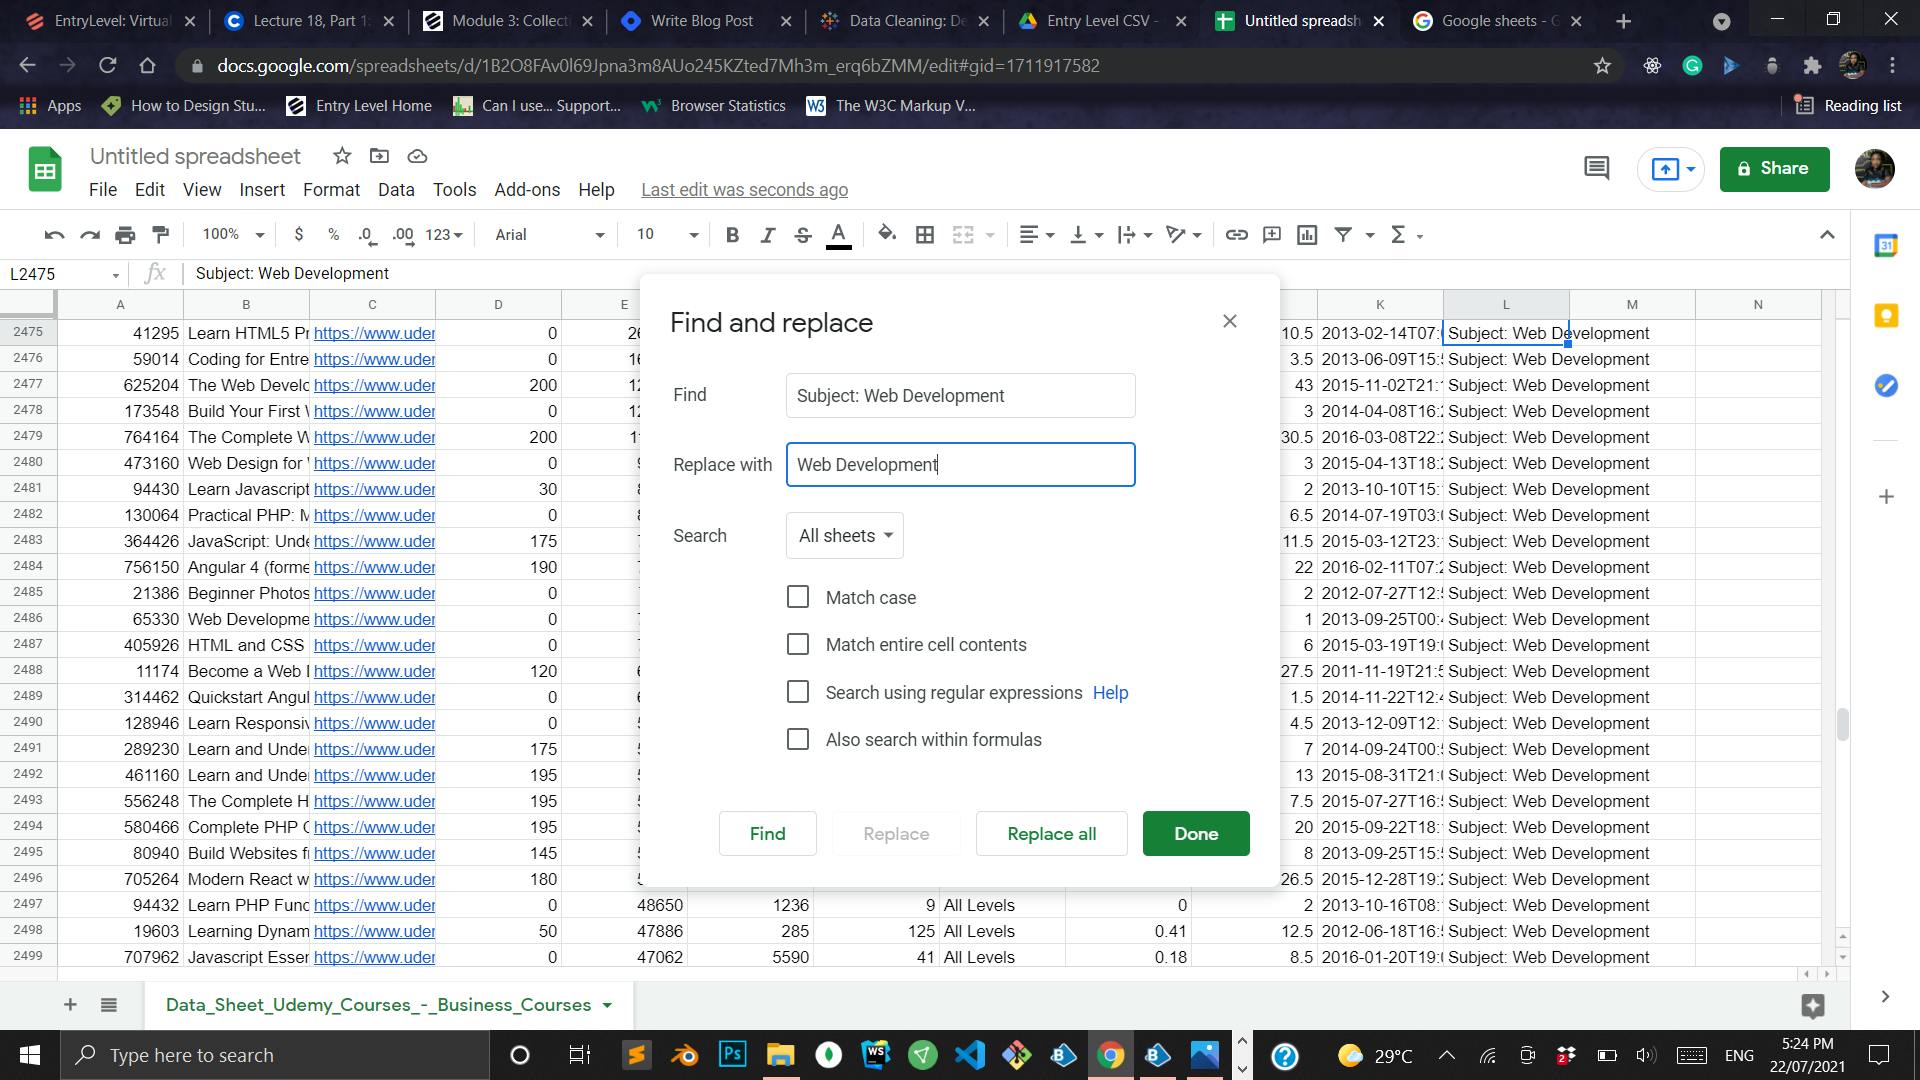
Select Replace all to replace every instance it finds. Click "Done"
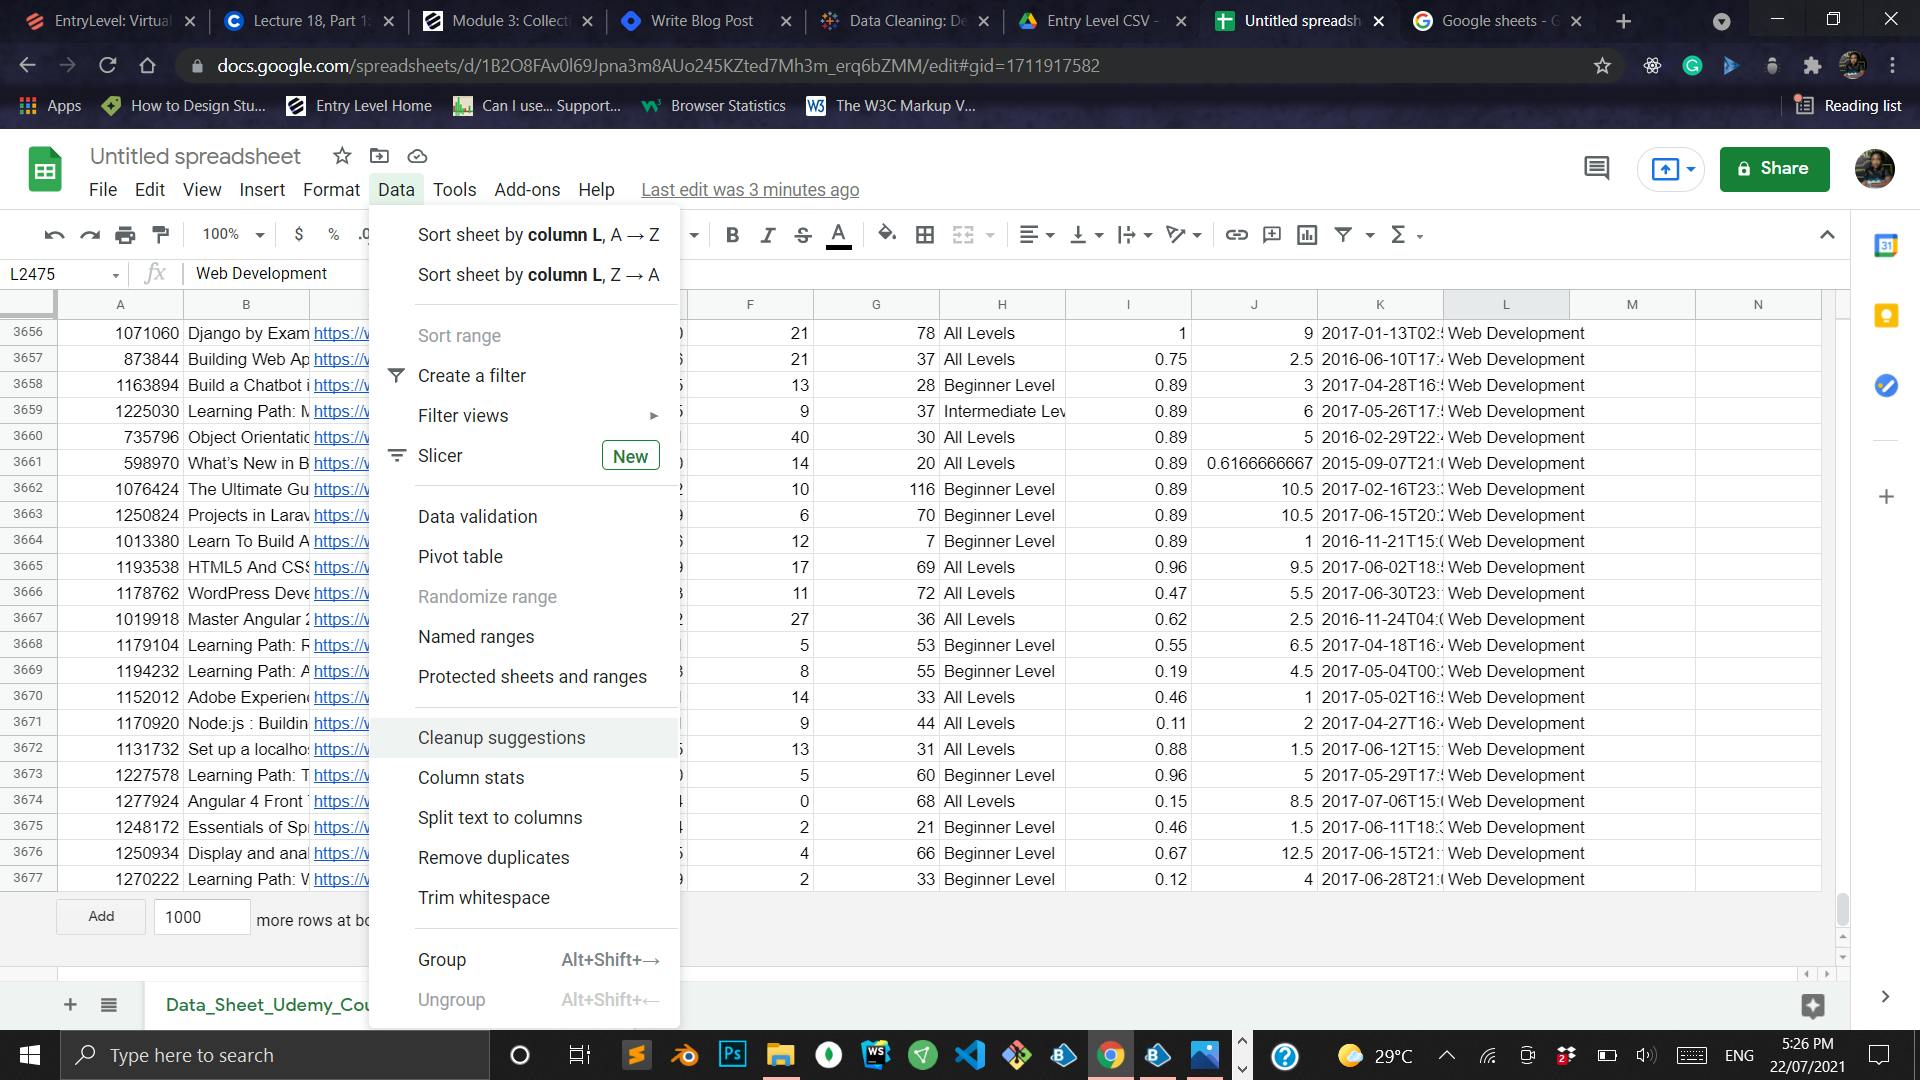
You should have a total of 3677 columns

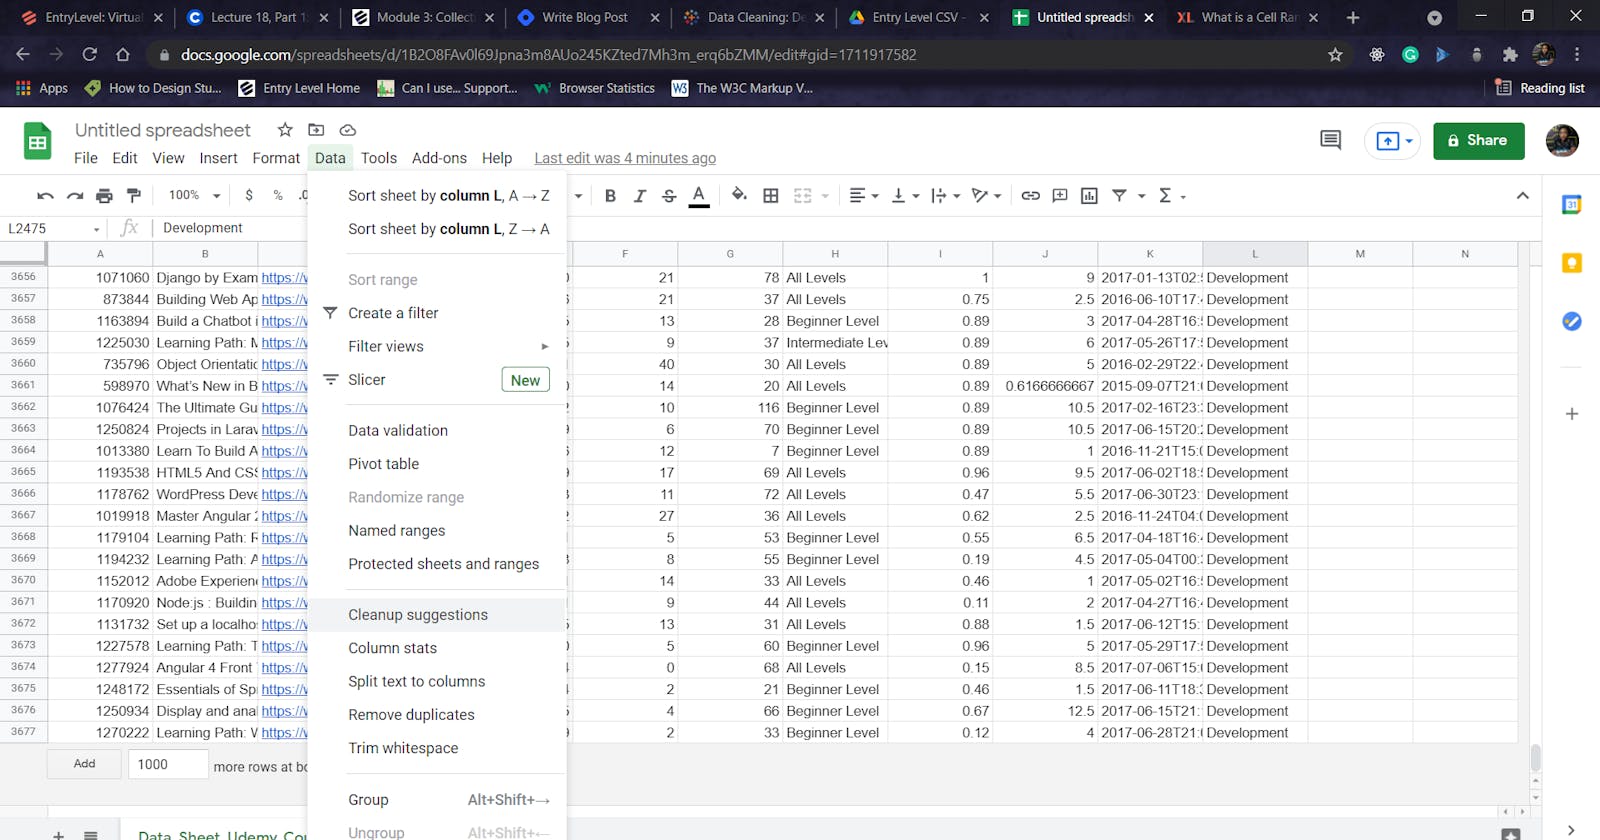
You can also get other cleanup suggestions from google sheets
CONCLUSION
With all this, the very basics of cleaning data have been explained. We covered removing duplicate rows which were the headers that followed each file after merging, we removed blank rows and we corrected the format in one of the columns. This is only the tip of the iceberg as google sheets offer many other tools like data validation, analysis, among others.
Till Next Time